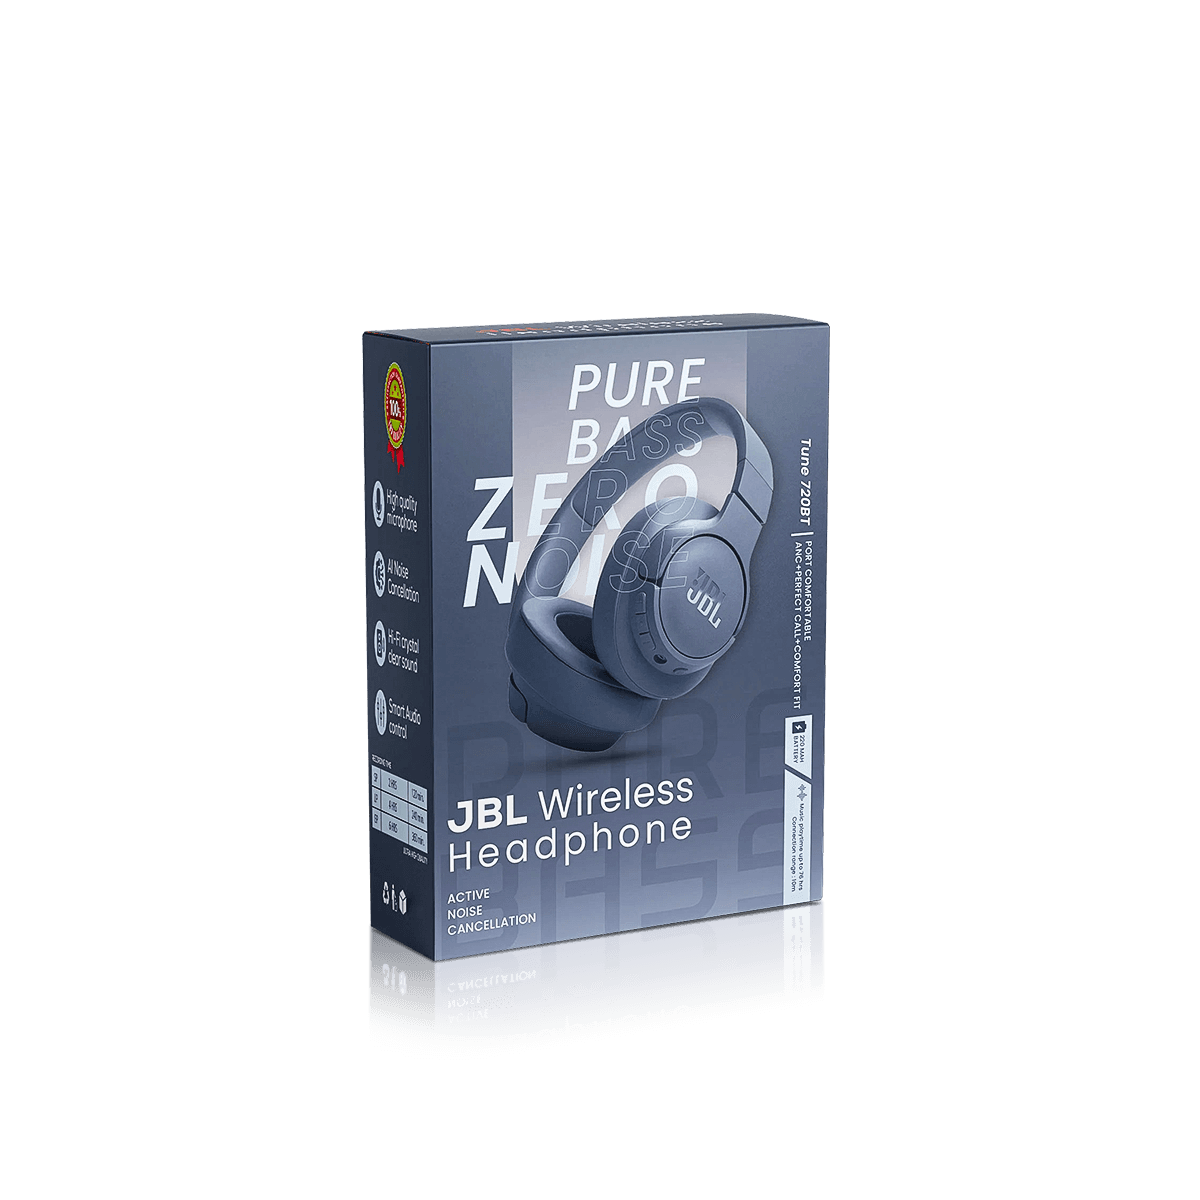
Custom Headphone Boxes
Protect headbands, ear cushions and included accessories with fitted boxes that present wireless, studio and gaming headphones in their intended position.
Free Design Support
Clear Pricing
Flexible Quantities
Unlimited Customization
Premium Materials
Offset Precision
Free Shipping
Quick Turnaround
Custom Headphone Boxes for Over-Ear, Wireless and Studio Models
Custom Headphone Boxes should hold the headband, ear cups and included accessories. They should not flatten cushions or force the frame into an unnatural position. The structure also needs enough print space for connection type, battery details, microphone features and device compatibility.
Headphones create open space around the headband. Use it for a cable case or booklet without letting loose parts rub against the ear cups.
The wider Custom Electronics Packaging work considers retail display, online delivery and product fit across complete tech lines. Custom Headphone Boxes need a plan for headband shape, cushion pressure and folding hinges. The opening view matters too.
Over-ear and on-ear headphones
Over-ear models need clearance around the ear cushions and support beneath firm parts of the frame. On-ear models can use a more compact tray, but the cups should still avoid direct lid pressure.
Wireless and noise-cancelling models
Wireless headphones often include a cable, charging lead, adapter or travel case. The inner layout should show which items are included and keep each one easy to remove.
Studio and gaming headsets
Studio headphones may need space for a coiled lead or screw-on adapter. Gaming headsets can add a boom microphone, receiver or control cable that needs its own cavity.
Support the Headband Without Changing Its Shape
The headband is the main structural feature to measure. Custom Headphone Boxes should hold it in its intended position. They should not squeeze it flatter or stretch it wider.
Measure the natural resting width
Measure the headphones as they will be placed in the box. Do not force adjustable arms into an extreme setting just to reduce the carton size. Record whether the headband folds, swivels or stays fixed.
Keep hinges and sliders free
Folding joints, rotating cups and size sliders should not carry the main load. The insert can support the firmer frame beside these parts.
Give the customer a clear lift point
An open side, finger notch or paper pull tab can make removal easier. The customer should not need to pull the headphones by a cable, microphone or cushion.
Protect Ear Cushions From Long-Term Compression
Ear cushions affect both comfort and first appearance. Custom Headphone Boxes should avoid pressing foam, fabric or leather-look surfaces against a rigid wall for the full storage period.
Support the outer cup shell or headband instead. Leave enough height so the closed lid does not press on the cushions.
Allow for thick and angled cushions
Some ear pads project further than the cup shell. Others sit at an angle. Measure the widest and highest point of the complete cup rather than using the hard shell alone.
Protect coated and gloss surfaces
Smooth cup shells can show scuffs. A clean paper wrap or non-abrasive approved layer may help where direct contact with the insert could mark the finish.
Organise Cables, Adapters and Microphones
Loose accessories can damage the presentation even when the headphones remain safe. Custom Headphone Boxes should give every lead and removable part a fixed position.
A cable well can keep the first view clean. Small adapters and receivers need a cavity that stops them moving under the headphones.
Custom Cable Boxes suit leads sold as separate products. Inside a headphone box, the cable area should follow the real coil diameter and connector shape.
Keep plugs away from ear cups
Metal connectors can rub against coated surfaces or cushions. A divider, sleeve or lower compartment keeps them apart.
Give detachable microphones a straight cavity
A boom microphone should not be bent to fit a short space. The cavity should support its intended curve and keep the connector protected.
Choose the Outer Structure Around Product Value and Weight
Custom Headphone Boxes can use folding cartons, rigid boxes or corrugated structures. Headphone size and total weight shape the choice. Retail use and the opening style matter too.
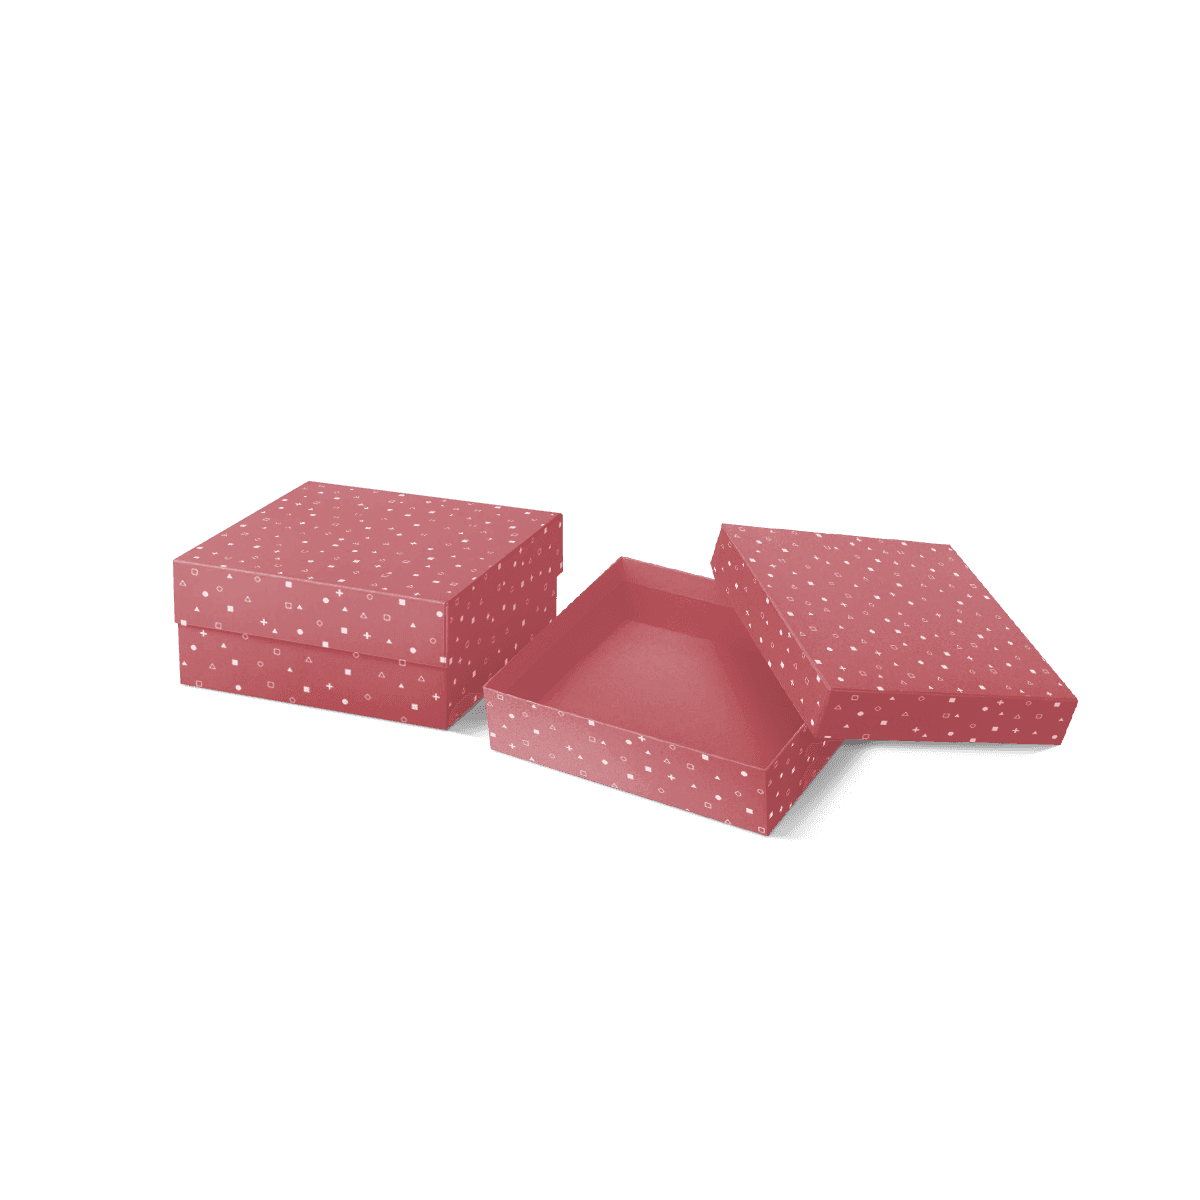
Custom Rigid Boxes can suit premium wireless, studio and collector models. A lid-and-base or drawer structure gives room for a staged reveal and a deep fitted tray.
Folding cartons may suit lighter on-ear headphones or compact folded models. Corrugated board can support larger gaming headsets and direct delivery.
Folding cartons for compact models
A folding carton uses less storage space before filling and gives broad print panels. The base and insert still need to support the loaded weight.
Rigid boxes for premium presentation
Rigid board adds presence and can protect the printed surface during repeated opening. It should still use a fitted inner tray rather than relying on an oversized cavity.
Corrugated boxes for larger headsets
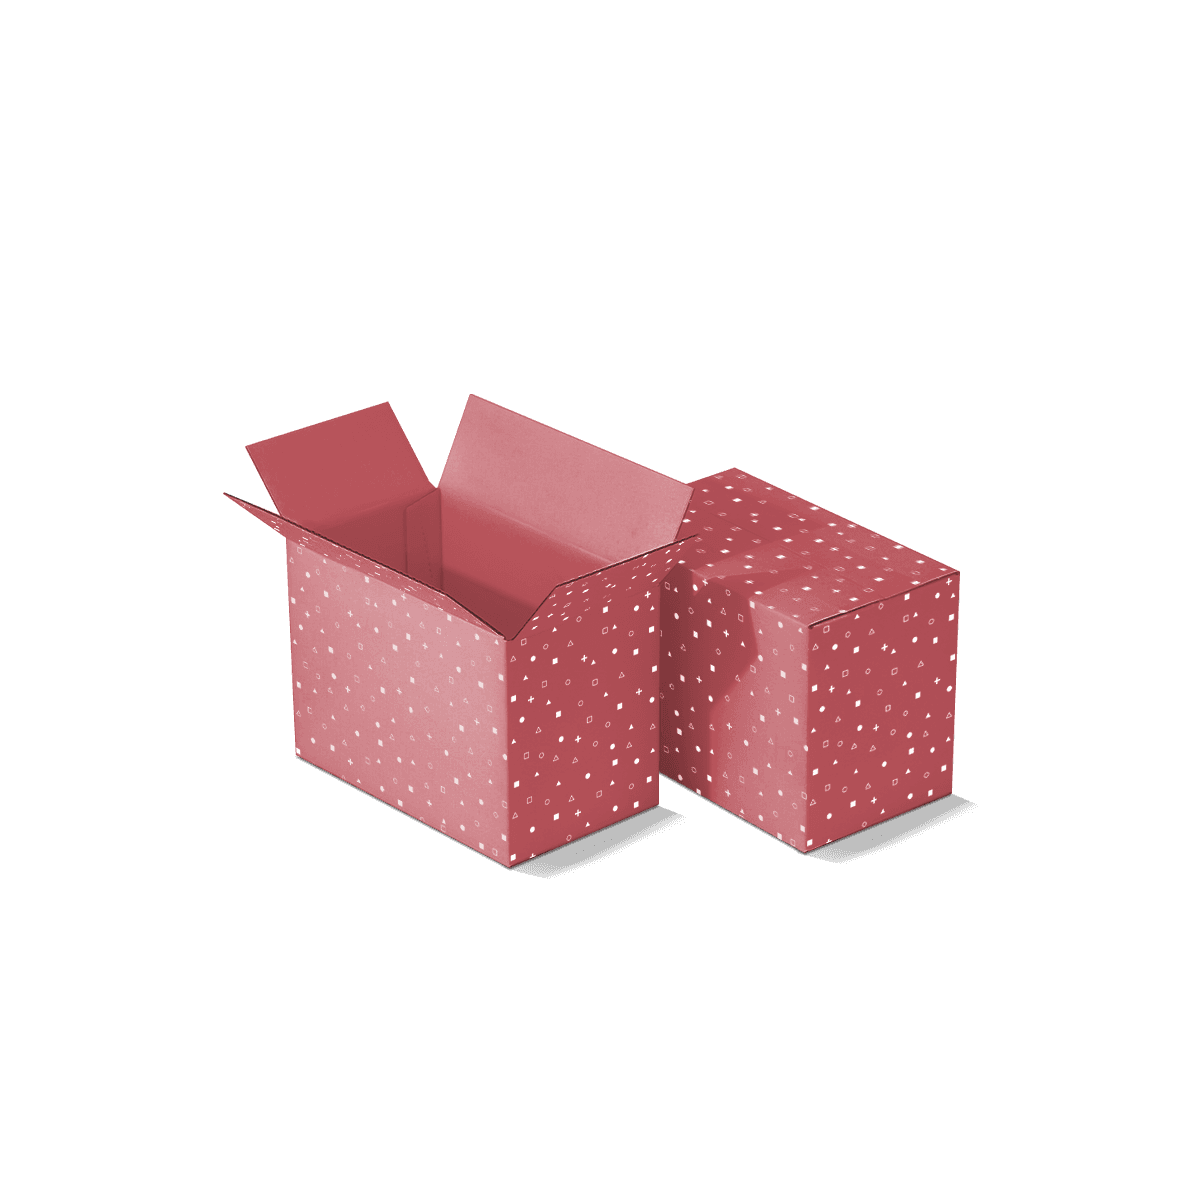
Corrugated board adds fluted strength for heavier headphones, bundled stands or delivery use. A printed retail box may sit inside a plain corrugated outer.
Shape the Insert Around the Frame and Cups
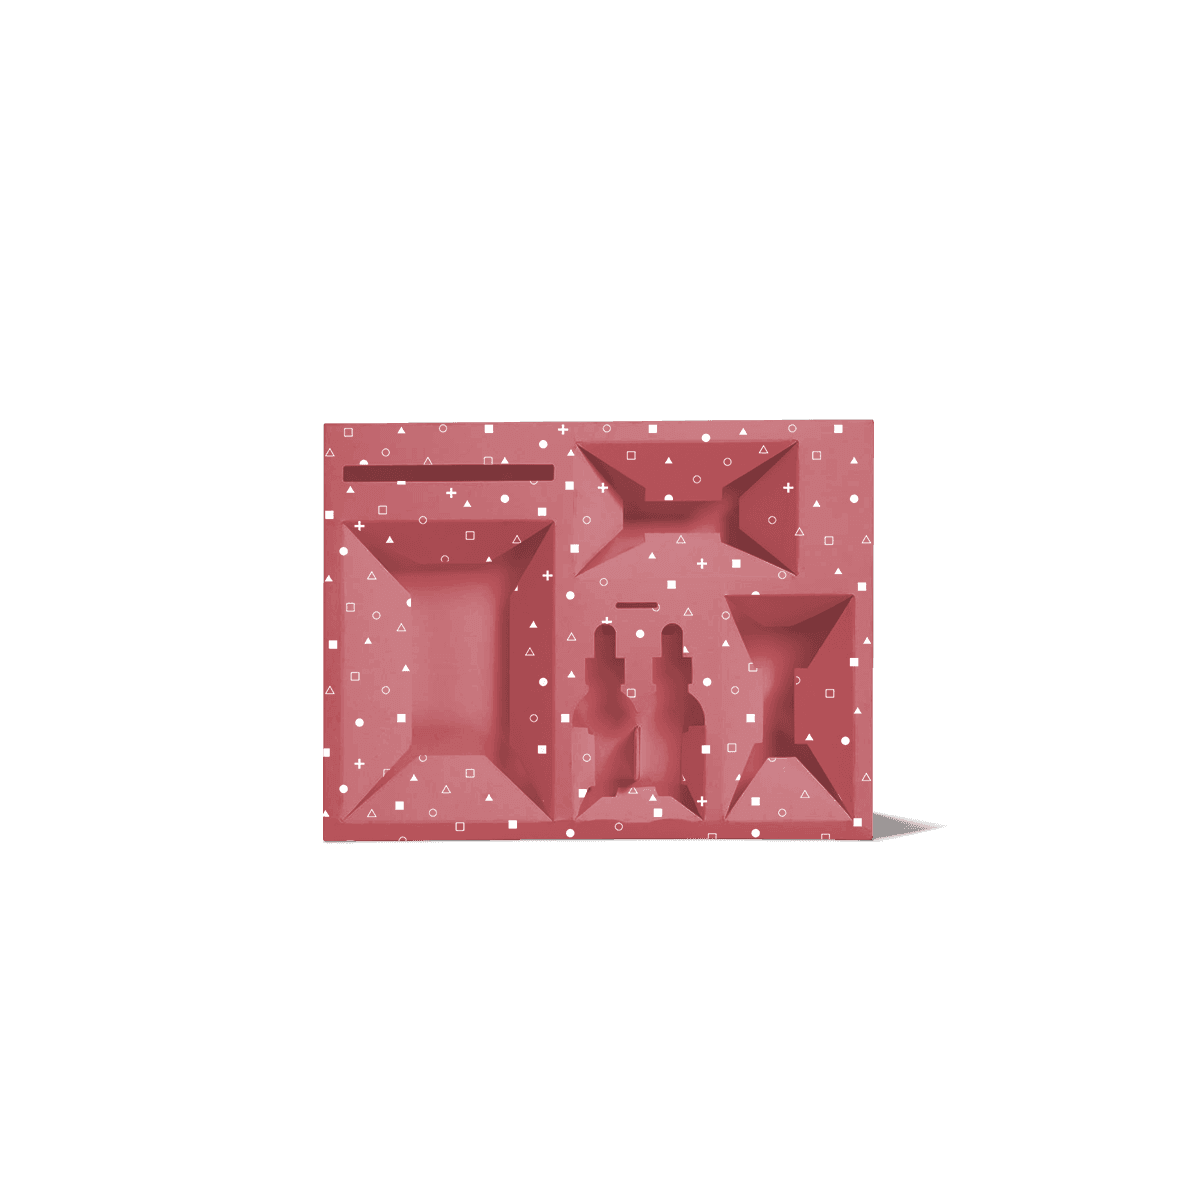
The insert controls how the headphones sit. It also sets the first view and directs pressure. Custom Inserts and Dividers can form paperboard bridges, cup supports, accessory cells and lower compartments.
A one-piece tray may suit a folded model. Layered support works better when the set includes a case, cable, adapter or stand.
Support hard points, not soft padding
Use the outer frame, cup shell or reinforced headband area as the main contact points. Leave cushions, mesh and controls clear.
Keep left and right cups aligned
A shaped tray can stop one cup rotating or dropping lower than the other. This gives a neater first view and reduces movement.
Plan for the travel case
When the headphones arrive inside a case, design the insert around the case. The box does not need to restrain every item inside it separately.
Make Wireless Features Easy to Read
Custom Headphone Boxes should make connection type and microphone use easy to find. Battery details and compatibility should also be clear.
Keep the product name, headphone type and main connection detail on the front. Use the side or back for the contents list, charging information, controls and barcode.
Only use technical claims supplied and approved by the product team. The artwork should match the exact model inside, including cup shape, colour and button position.
Separate model and colour versions
Give model name, colour and connection type fixed artwork zones. Colour can support recognition, but the printed model should remain the main cue.
Use diagrams where they add clarity
A simple control or folding diagram can be more useful than a crowded feature list. Place setup details inside the lid or on a card when the front needs to stay clean.
Create a Reveal That Suits the Product Position
The opening should suit the product position. Everyday headphones, professional tools and premium gifts need different levels of reveal.
Custom Headphone Boxes can reveal the full silhouette, a folded profile or a travel case first. Premium models often look stronger when the headband and cups appear together.
Compact headphones may sit folded in a smaller tray. Studio sets can place the headphones above the cable and adapter so the professional parts remain organised.
Prepare Retail Boxes for Online Delivery
A retail box can present the headphones well without being the best parcel outer. Custom Headphone Boxes sent through ecommerce often need a close corrugated shipping carton.
The outer box protects corners, print and raised finishes from labels, tape and parcel handling. It should leave enough clearance around the retail box without allowing it to move.
Using the headband space well can reduce unused volume without weakening protection.
Gaming models may include receivers, microphones and controls. Custom Gaming Accessory Boxes may therefore need a deeper layout and clearer platform information.
Test the retail and shipping layers together
Place the loaded retail box inside the planned outer carton. Check corner pressure, movement and whether the insert remains level after handling.
Manage Folded, Unfolded and Colour Versions
One headphone line may include several colours. Wired and wireless models may share a shell but use different accessories.
Custom Headphone Boxes should keep the visual identity consistent while making each version easy to identify. The same outer box may work when dimensions and weight remain close, but the insert must match the resting position and accessories.
A change from fixed to folding cups can affect the tray even when the outer dimensions look similar. A new travel case can also change the full set depth.
State quantity by each artwork and insert
Give the quantity for every print version and note which ones share a tray.
Record the intended headphone position
Save a loading image with the approved artwork and insert drawing. This helps future orders keep the headband setting, cup angle and cable placement consistent.
Test the Loaded Headphone Box Before Production
A meaningful sample contains the real headphones and every included part. An empty carton cannot show cushion pressure, headband movement or cable lift.
Close the loaded sample and leave it resting in the intended position. Reopen it and check the cushions, cup surfaces and joints. Turn the box gently to find movement. Open it several times to see whether the tray stays firm.
A 3D mockup can confirm artwork and general dimensions. A physical sample is more useful when the headphones have thick cushions, folding joints or several accessories.
Custom Packly can help choose the right approval step. A physical check may be safer when the structural risk is higher.
Order for Launches, Retail Runs and Ongoing Models
MOQ starts from 50, which can suit a new model, limited colour or first retail test. Custom Packly also supports Custom Headphone Boxes in the thousands and for larger ongoing production needs.
Keep the approved board, box dimensions, insert drawing, print references and loading image together. When the headphone design changes, compare the new headband, cup depth and accessories before reusing the old structure.
A colour update may need new print only. A thicker cushion, new case or different folding hinge can require a revised insert.
Send the Details That Shape the Quote
An accurate quote for Custom Headphone Boxes starts with the full product. Show it in the intended boxed position.
Send:
- Headphone height, width and depth
- Natural or folded resting position
- Filled product weight
- Ear-cup and cushion depth
- Headband width and adjustment setting
- Cable, adapter, microphone and case sizes
- Quantity for each colour or model
- Retail, gifting or ecommerce use
- Preferred board, insert and finish
- Artwork status and target date
Front, side and folded photos help explain the shape.
Send these details through Get a Quote. The box, insert and print split can then be priced around the real headphone set.
FAQs
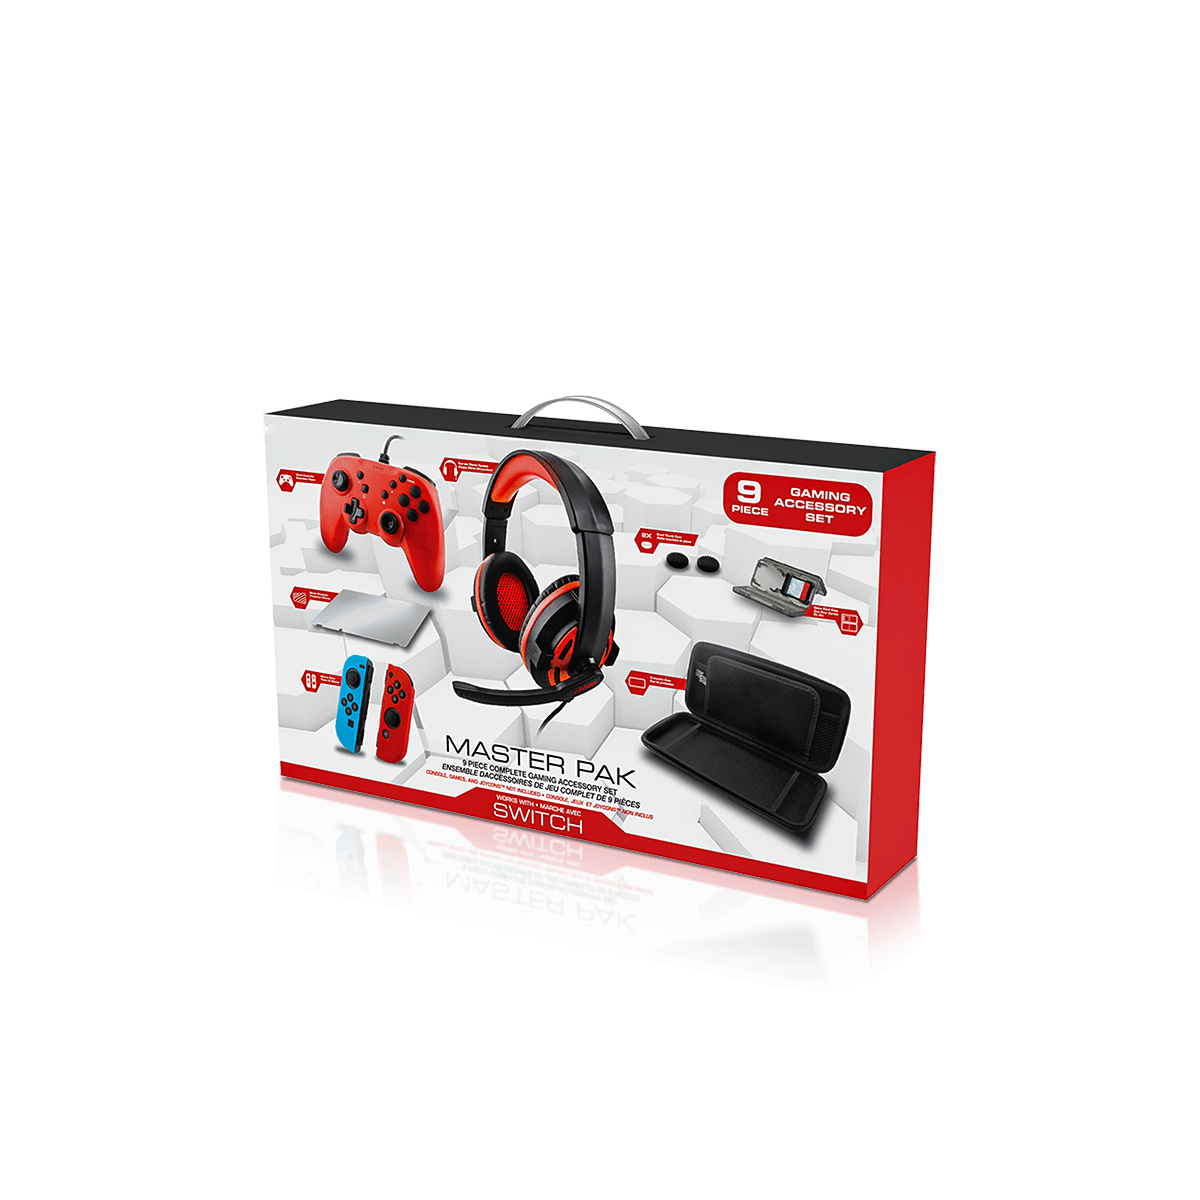
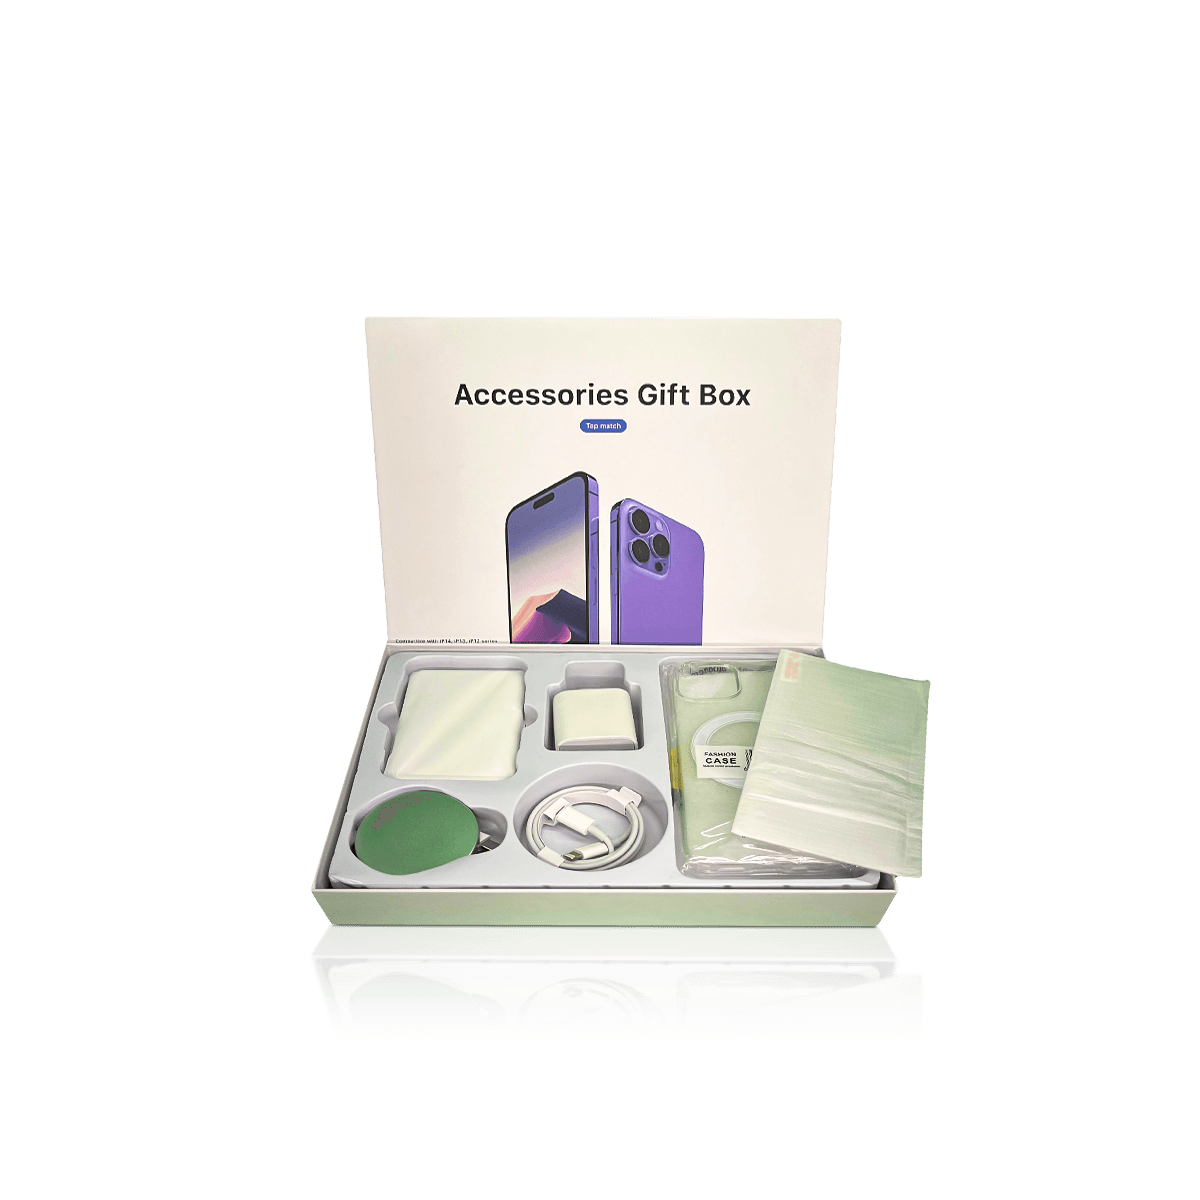
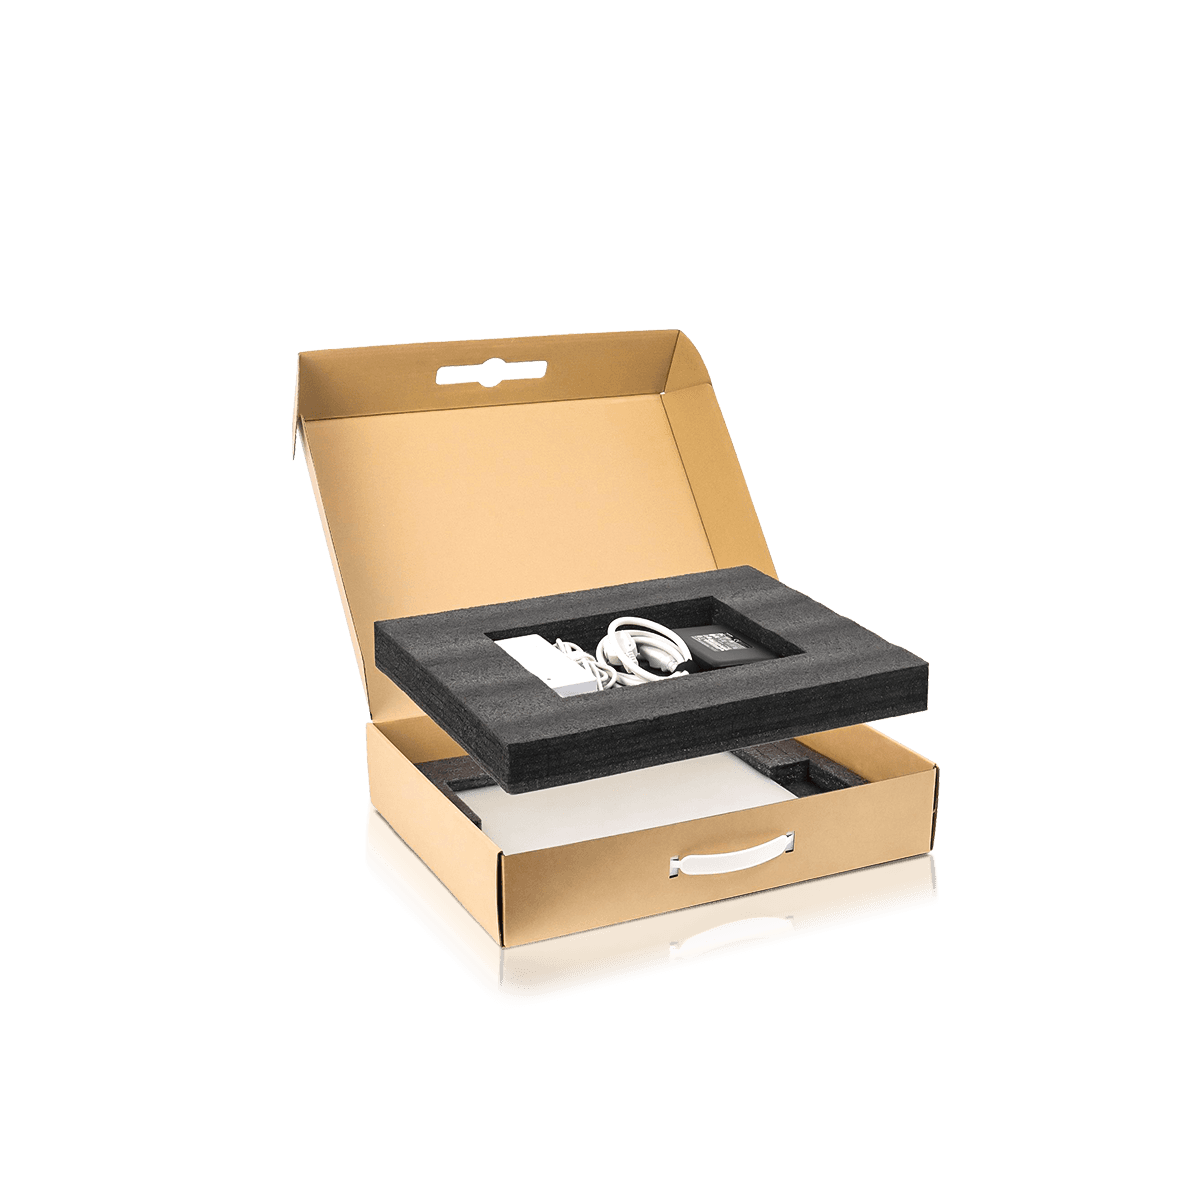
Related Packaging Styles
How it works
Simple steps from idea to delivery
Tell Us Your Specs
Tell Us Your Specs
Provide size, quantity, printing, and finishes.
Get a Fast Quote

Get a Fast Quote
Instant transparent pricing, no hidden fees.
Design and Approval
Design and Approval
Artwork checks, revisions, and final sign-off.
Produce

Produce
Expert manufacturing to meet deadlines.
Ship to Your Door

Ship to Your Door
Hassle-free, flexible delivery options.
Start Your Custom Packaging Quote
Share your product details, dimensions, quantity and artwork needs. We’ll help choose the right packaging style and send a clear quote.