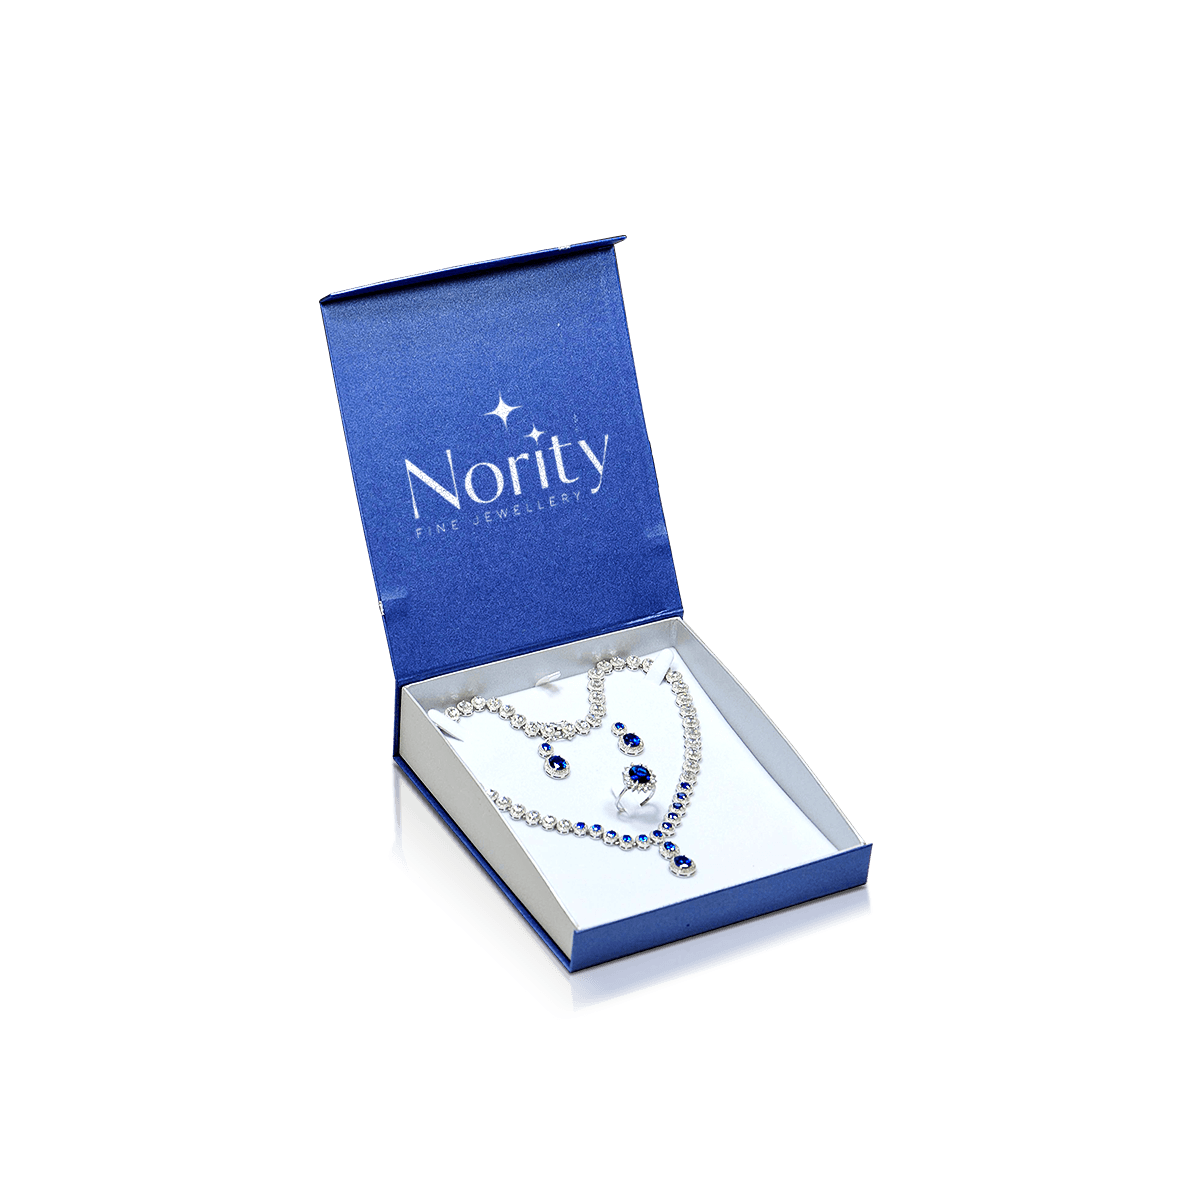
Custom Jewellery Set Boxes
Give necklaces, rings, earrings and bracelets a clear shared reveal with fitted compartments that protect each piece without making the box feel crowded.
Free Design Support
Clear Pricing
Flexible Quantities
Unlimited Customization
Premium Materials
Offset Precision
Free Shipping
Quick Turnaround
Jewellery Gift Set Packaging With a Place for Every Piece
A successful jewellery set box gives every item a clear position while presenting the group as one gift. The necklace, earrings, ring or bracelet should look connected without touching, crossing or hiding one another.
Custom Jewellery Set Boxes need more planning than single-item jewellery packaging. Each piece has a different shape and movement risk. Chains can tangle. Rings can lean. Earring posts can press into the base. Bracelets may curve into nearby spaces. The insert must manage all of these details in one clean layout.
The first view should also show which piece leads the set. A pendant may sit in the centre with earrings above it. A ring can form the focal point in a bridal set. A bracelet may need a wider lower section that balances smaller pieces around it.
The wider Custom Jewellery and Accessories Packaging collection can share a brand colour and print style. Custom Jewellery Set Boxes still need their own spacing, hierarchy and insert plan.
Choose the main piece first
The highest-value or most detailed item should usually take the strongest visual position. This may be the centre, upper centre or first area seen when the lid opens.
Supporting pieces should have enough space to remain distinct. Equal spacing does not always create the best result. A large necklace and two small earrings may look more balanced when the pendant has a wider centre area.
Keep contact points separate
Metal parts, stones and clasps should not rest against one another. Small gaps between cavities reduce rubbing during handling and delivery.
The insert also needs finger access. Customers should be able to lift one piece without disturbing the rest of the set.
Start With the Set Composition, Not the Outer Box
Custom Jewellery Set Boxes should be sized after the complete product layout has been planned. Choosing the outer dimensions first can force pieces too close together or create unused space around a weak arrangement.
Lay out every item in its intended display position. Include chain tails, earring backs, clasps, tags and any removable parts. These details often take more room than expected.
Necklace and earring sets
A necklace and earring set often works well with the earrings placed above the pendant. The necklace chain can run behind the insert or into a lower pocket.
The pendant should remain centred even when the box is turned. Two upper holes or tabs can hold the chain while a lower restraint controls the loose length.
Custom Necklace Boxes may use similar chain controls, but Custom Jewellery Set Boxes also need clear space for the matching earrings and their backs.
Ring, necklace and bracelet sets
A three-piece set needs stronger visual order. The necklace may lead the display while a ring and bracelet sit in smaller lower areas.
Bracelets need enough width for their natural curve. The ring slot should grip the band without pushing the stone forward. The necklace chain must stay away from both pieces.
Sets with interchangeable parts
Some jewellery sets include spare pendants, charms or removable drops. Each extra part needs a fixed recess or slot.
Loose accessories should never sit under the main jewellery or move around the box. A small covered well, card or lower compartment can keep them organised.
Use One Tray, Layers or Small Inner Boxes
The number and shape of the items determine whether Custom Jewellery Set Boxes need one open tray, a layered design or separate inner boxes. Each approach creates a different reveal and packing process.
One tray for a complete first view
A single tray lets the customer see the whole set at once. It suits necklace and earring pairs, bridal sets and coordinated pieces that share one clear visual story.
The tray needs enough structural support across wide areas. Large cut-outs placed too close together can weaken a thin insert. Finger gaps should sit where they do not interrupt the symmetry.
Layered boxes for larger collections
A lift-out tray can present the main jewellery on top while spare parts, care cards or another piece sit below. This keeps the first view calm.
The upper tray must lift without tipping the jewellery. Ribbon tabs or side recesses can help. The lower level should have enough depth for its contents without pushing the top tray upward.
Inner boxes for separate gifting
Small individual boxes inside one larger presentation box can suit a set that may later be divided. Each item keeps its own protection and can be removed independently.
However, too many inner boxes can add bulk. Their heights and gaps should form one tidy arrangement rather than a collection of unrelated containers.
Stop Chains, Stones and Metal Parts From Meeting
Movement control is the central protection task in Custom Jewellery Set Boxes. A piece can leave its cavity even when the outer box remains undamaged.
Anchor necklaces at more than one point
A necklace usually needs two upper holds and a lower control point. The pendant may sit in a recess, while the spare chain moves behind the tray or into a pocket.
Fine chains need smooth edges. Sharp card cuts and rough foam can catch links. The opening should also let staff place the chain without knots during packing.
Give rings and earrings their own fixing methods
A ring slot should grip the lower band. Earring holes should match the pair spacing and leave room for posts and backs.
Do not rely on one flat pad to hold every item. The fixing method should follow the shape and weight of each piece.
Use dedicated spaces for bracelets and charms
Bracelets can use curved recesses, small tabs or shaped cradles. Charms and removable elements may need individual wells.
The specialists behind Custom Inserts and Dividers can align these different holds within one tray. The aim is to protect every piece while keeping the insert easy to load.
Choose an Opening That Supports the Gift Experience
Custom Jewellery Set Boxes often form part of a proposal, wedding, anniversary, birthday or premium retail purchase. The opening should reveal the set in a controlled way.
Lid-and-base boxes for a wide display
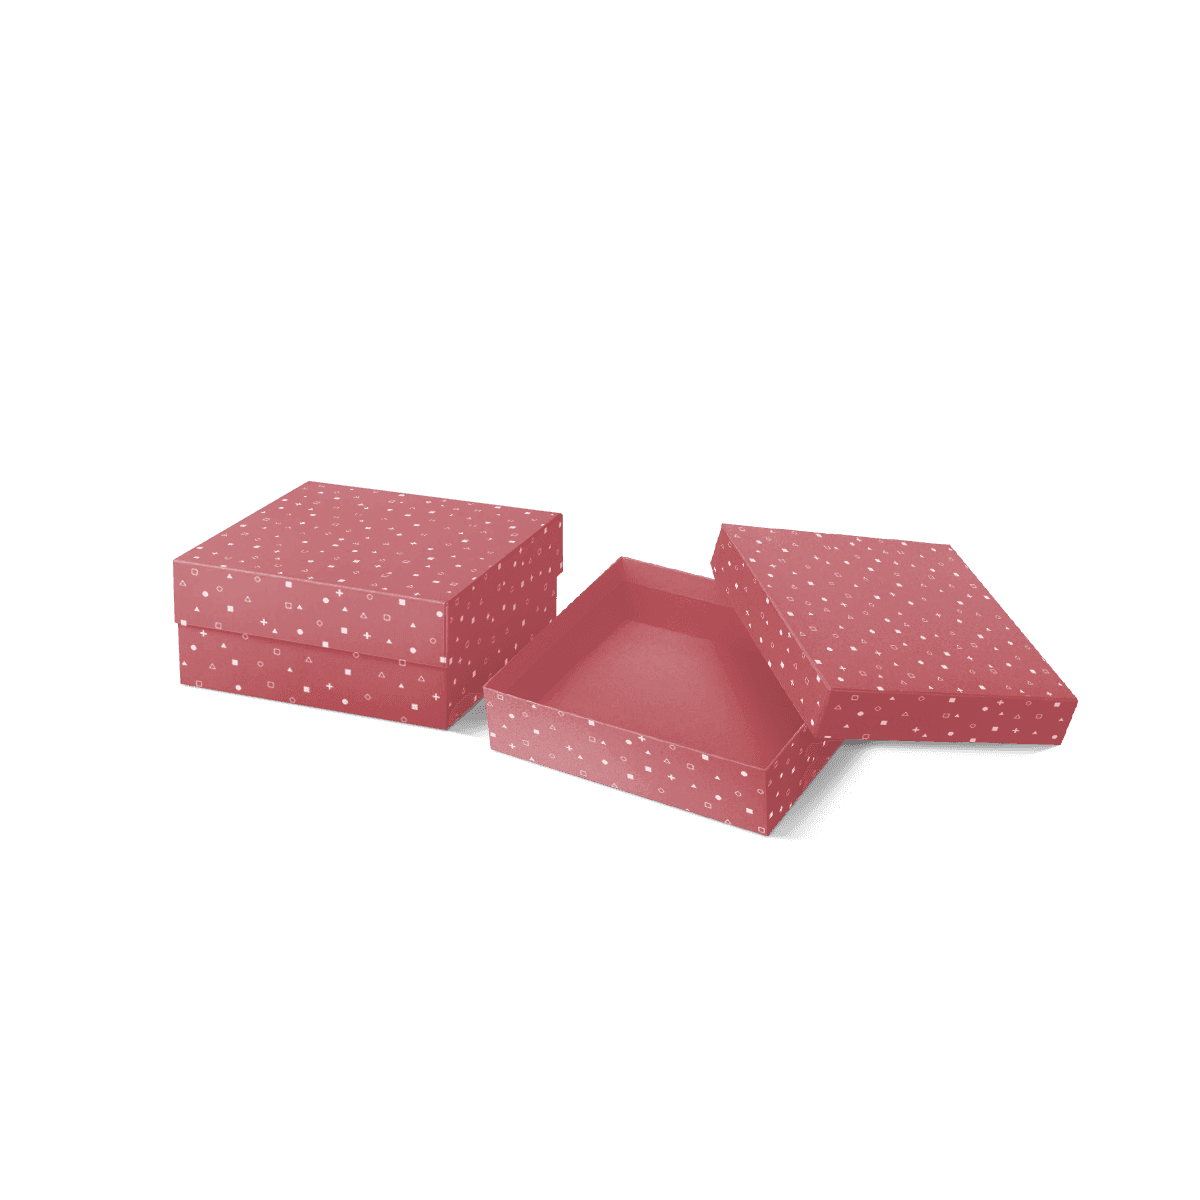
A separate lid gives a full open view with no hinge behind the jewellery. It suits wide sets and trays that use most of the box footprint.
The lid should lift without pulling the base upward. A shoulder can help alignment and add a clean colour border around the tray.
Hinged boxes for an attached presentation
A hinged lid keeps the box together. It can carry a short message, logo or care statement inside.
The hinge should hold the lid at an angle that does not shade or cover the top pieces. The insert position may need to move slightly forward to improve visibility.
Drawer boxes for a slower reveal
A drawer structure can create a measured opening. It also offers a clear pull point and may allow another compartment below or behind the main tray.
Many of these choices sit within Custom Rigid Boxes. The final structure should suit the set value, total weight and intended gift use.
Use Print Without Competing With the Jewellery
Custom Jewellery Set Boxes often have more surface area than a single ring or earring box. That does not mean every panel needs artwork.
The jewellery should remain the strongest visual element when the box opens. Print and finishes should frame the set rather than compete with it.
Keep the outside focused
The lid can carry a logo, symbol or short collection name. Large set boxes need careful logo scale. A mark that is too small can look lost, while one that is too large can reduce the refined feel.
Foil, embossing or debossing can create one clear point of interest. Full-colour printing may suit illustrative or fashion-led brands.
Use the inside lid for context
The inside lid can hold a short story, gift message or collection name. Keep long care instructions on a separate card.
A centred line often works well above a symmetrical set. An offset message may suit an asymmetrical jewellery layout.
Choose contrast for several metals and stones
A set may include pale metal, coloured stones and darker details. The insert colour needs to support all pieces, not only one.
Deep neutral tones can help silver and gold stand out. Pale inserts may work better for dark or colourful jewellery. The material, printing and finish choices available through Customisation can be considered together before artwork is approved.
Prepare the Set for Retail, Gifting and Delivery
Custom Jewellery Set Boxes may move through display cabinets, stockrooms, shopping bags and courier networks. The inner presentation needs to stay neat at every stage.
Retail teams need a repeatable arrangement
Staff should know where every piece belongs. A reference image can help with sets that use several small cavities.
The insert should remain fixed when one item is removed. A barcode or product label also needs a planned place on the base or side.
Gift presentation needs easy removal
The customer should be able to lift each item without pulling on chains or stones. Finger gaps, ribbon tabs and clear spacing make the experience feel considered.
Any certificate, care card or gift note should have its own pocket. Loose papers can cover the jewellery or move it out of place.
Online orders need an outer shipping box
The presentation box should sit inside a suitable corrugated outer carton. The outer layer protects corners, closures and decorative surfaces.
The jewellery must also remain secure inside its own insert. A shake test can show whether chains cross, small parts escape or a tray lifts during movement.
Keep Set Variations Manageable
A jewellery brand may offer several coordinated sets with different stones, metals or item combinations. Custom Jewellery Set Boxes can cover these variations without creating a new outer box for every design.
Share outer dimensions across related sets
One box may hold several necklace and earring sets when the overall layout remains similar. The insert holes, recesses or colours can change between versions.
A larger box may cover three-piece sets. A deeper version may be reserved for bracelets or layered layouts.
Use inserts to identify each arrangement
The outer artwork can remain consistent while the insert changes for each product combination. This keeps the brand system stable and reduces unused printed stock.
Labels, cards or subtle insert colours can identify metal type, stone colour or collection name.
Change seasonal parts rather than the whole box
A sleeve, band, gift card or inside message can change for Christmas, Valentine’s Day, Mother’s Day or a bridal launch.
The core Custom Jewellery Set Boxes can remain in use throughout the year. This gives seasonal orders a distinct look without leaving large amounts of outdated packaging.
Plan Quantities by Layout Version
MOQ starts from 50, with support for larger orders, repeat production and high-volume jewellery programs. For Custom Jewellery Set Boxes, quantity planning should separate the outer box from each insert version.
For example, 1,000 boxes may use:
- 400 necklace and earring inserts
- 300 ring, necklace and earring inserts
- 200 bracelet and necklace inserts
- 100 limited gift-set inserts
All four may share the same printed outer box when the dimensions and depth remain suitable.
Keep the approved insert drawing, cavity sizes, item positions, print colours and label area on file. These details help later orders match earlier stock.
A 3D mockup is the usual first review. A physical sample may be discussed when the set has several moving parts, a layered tray or costly jewellery that needs a hands-on fit check.
Send the Complete Set Details for Quoting
An accurate quote for Custom Jewellery Set Boxes needs the full item list and the planned arrangement. Send:
- Photos of every jewellery piece
- Length, width, depth and weight of each item
- Necklace chain and pendant dimensions
- Ring band and setting height
- Earring post, hoop or drop measurements
- Bracelet width and natural curve
- Preferred item positions
- Single tray, layered tray or inner-box preference
- Quantity for each set layout
- Print colours and finish ideas
- Retail, gifting or online delivery use
- Artwork status and required date
Custom Packly can review whether several sets can share one outer box and where insert changes will be required. Get a Quote with the product list and measurements available, then refine the layout with expert support.
FAQs
Related Industries
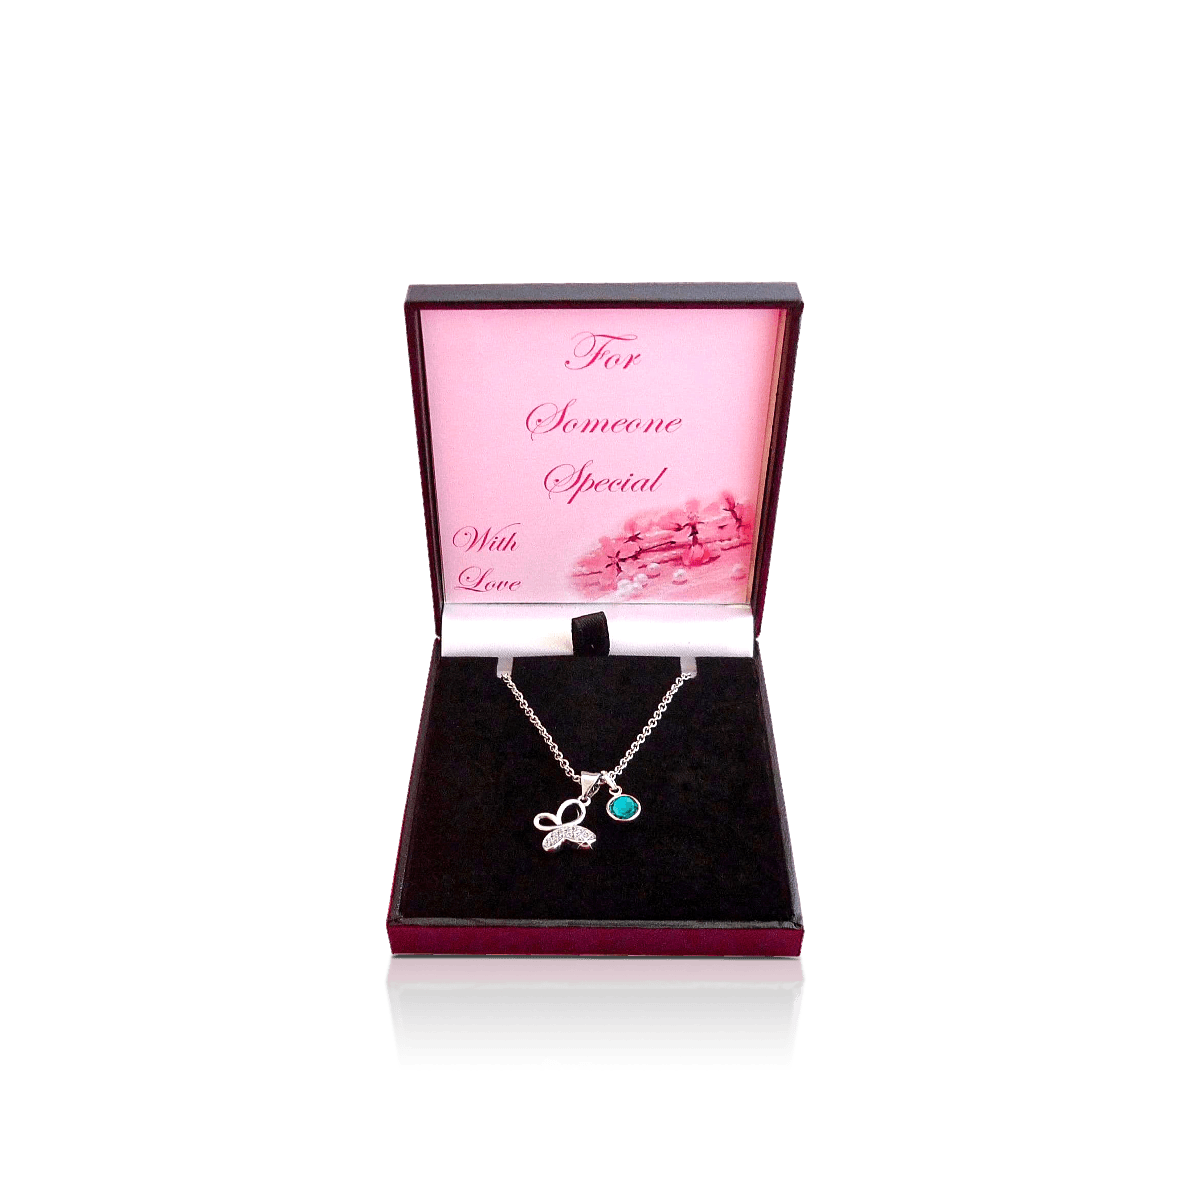
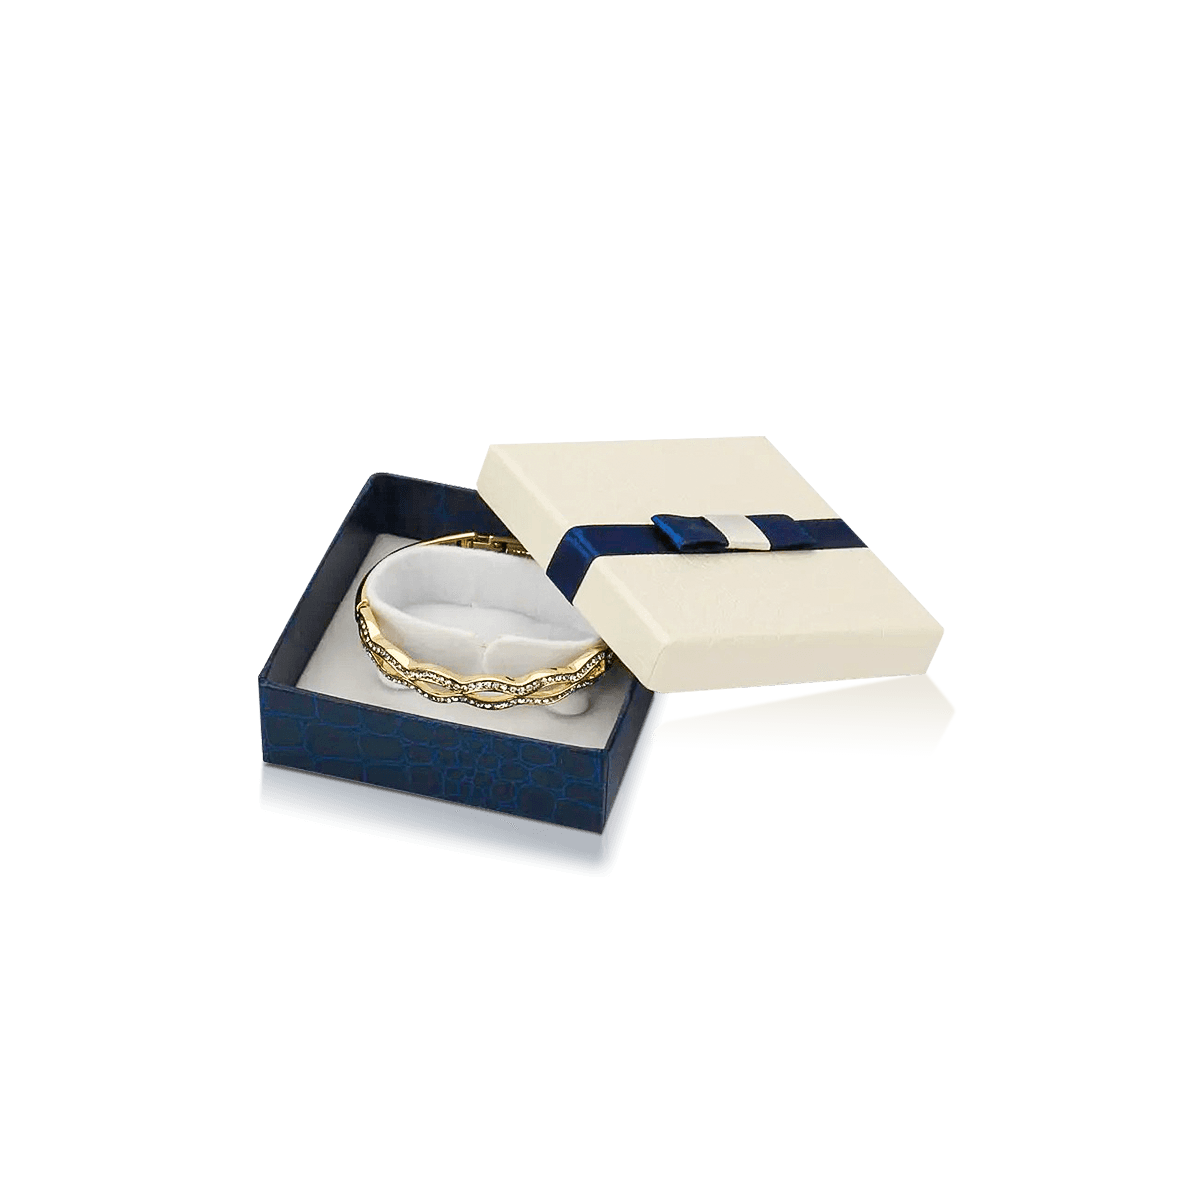
Related Packaging Styles
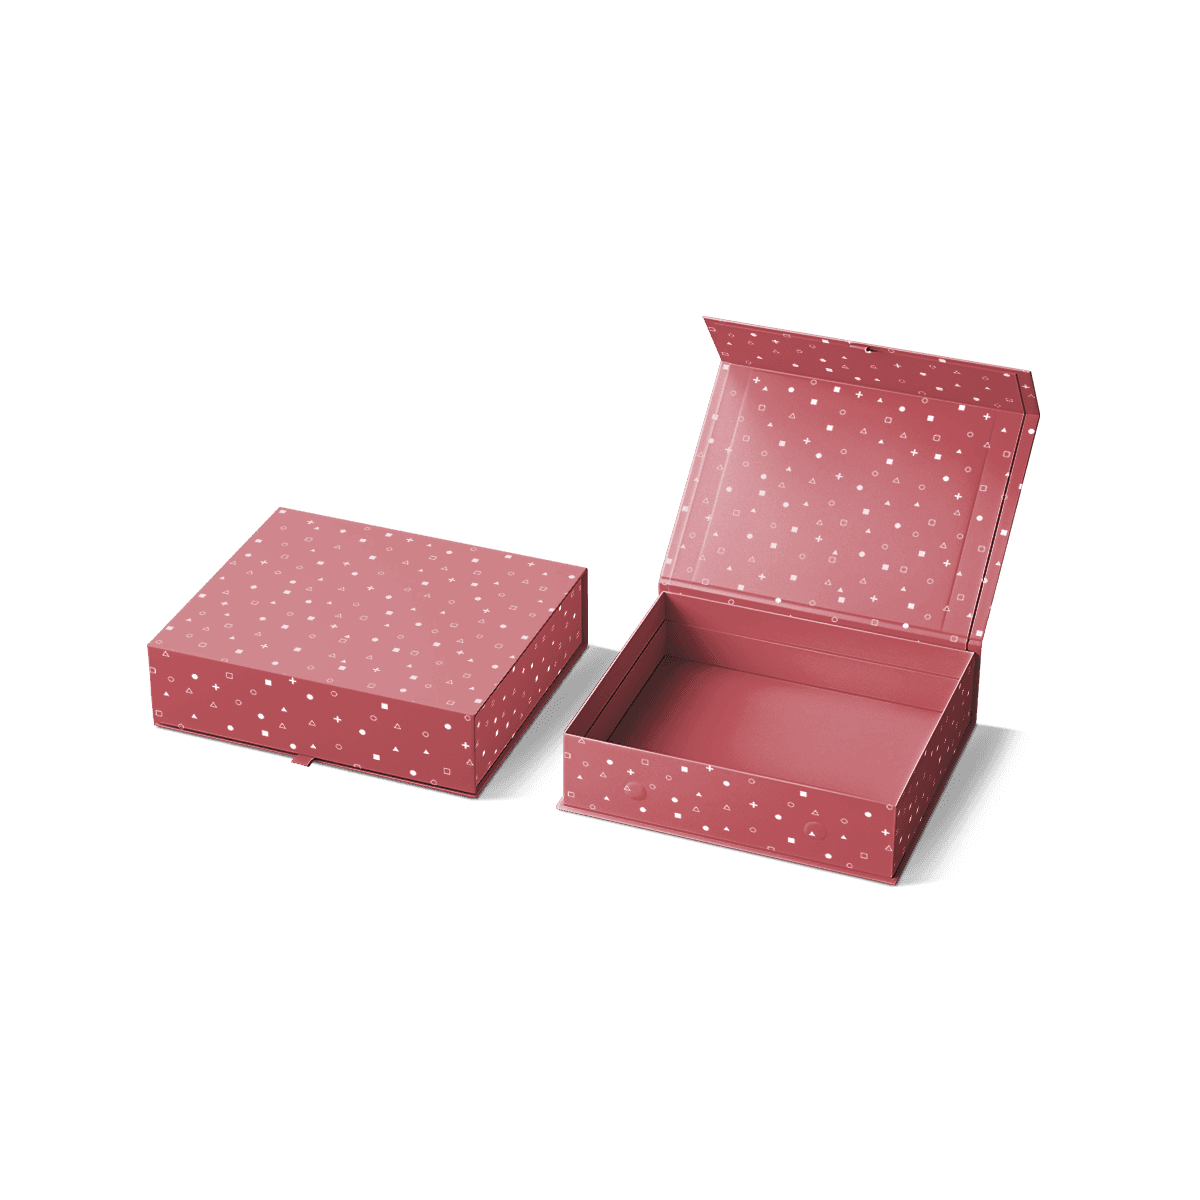
How it works
Simple steps from idea to delivery
Tell Us Your Specs
Tell Us Your Specs
Provide size, quantity, printing, and finishes.
Get a Fast Quote

Get a Fast Quote
Instant transparent pricing, no hidden fees.
Design and Approval

Design and Approval
Artwork checks, revisions, and final sign-off.
Produce

Produce
Expert manufacturing to meet deadlines.
Ship to Your Door

Ship to Your Door
Hassle-free, flexible delivery options.
Start Your Custom Packaging Quote
Share your product details, dimensions, quantity and artwork needs. We’ll help choose the right packaging style and send a clear quote.