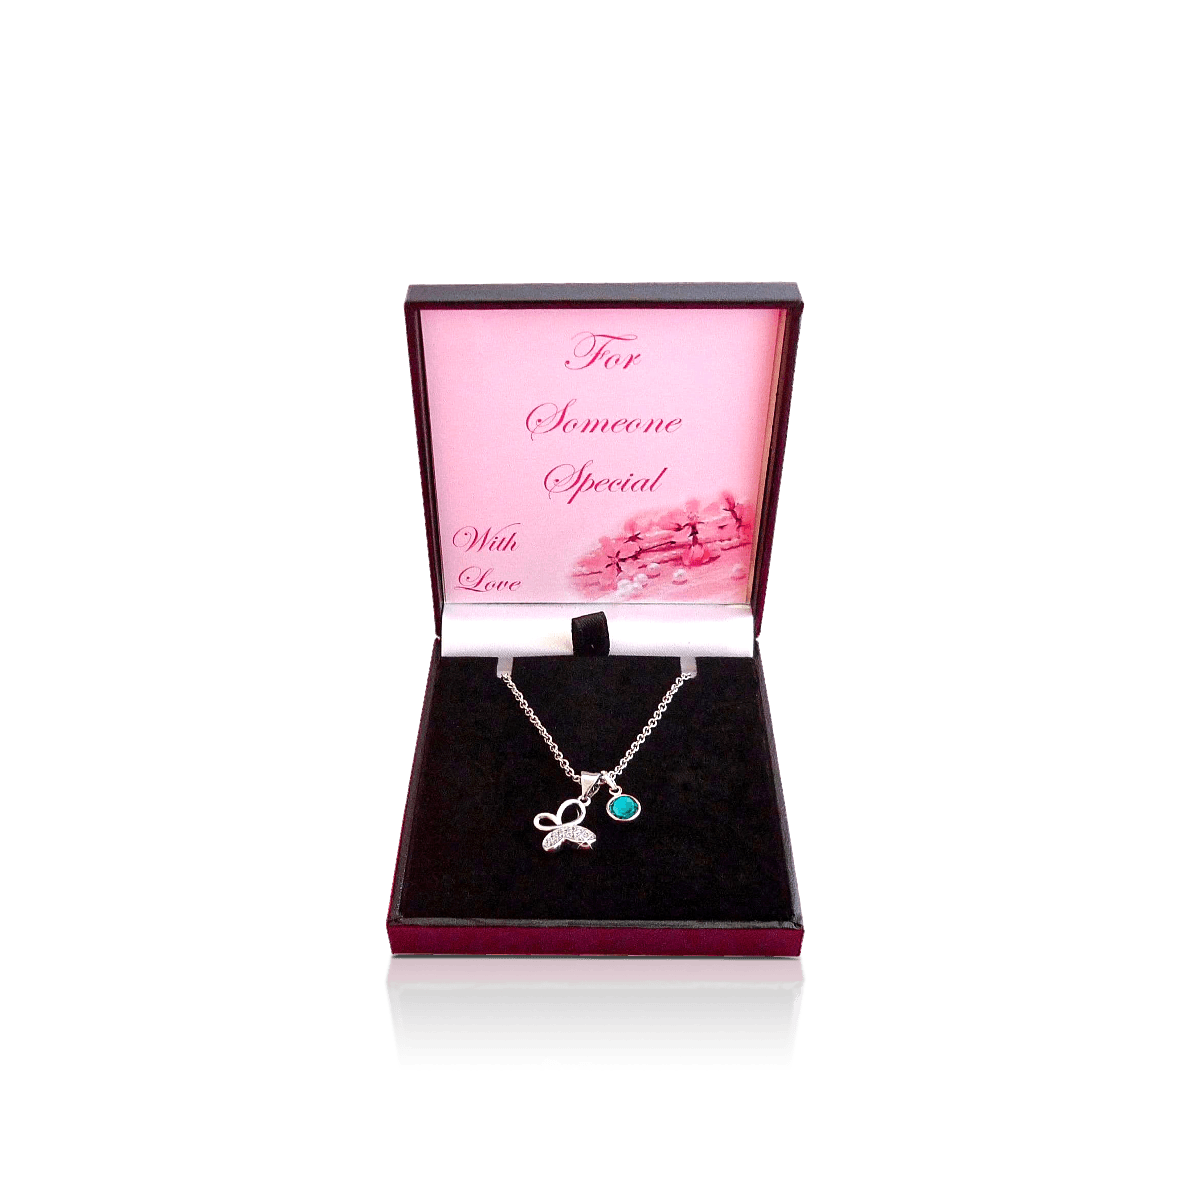
Custom Necklace Boxes
Keep fine chains untangled and pendants centred with necklace packaging planned around length, clasp position, display angle and the way each piece is lifted.
Free Design Support
Clear Pricing
Flexible Quantities
Unlimited Customization
Premium Materials
Offset Precision
Free Shipping
Quick Turnaround
Custom Necklace Boxes That Keep Chains Tidy and Pendants Centred
Custom Necklace Boxes should hold a necklace in the exact position the customer is meant to see. The pendant needs to remain centred. Fine chain should not knot behind it. The clasp and extender should stay out of the main display area.
A necklace can shift even when the outer box remains undamaged. One loose chain tail may cross the pendant. A heavy charm may pull the upper anchors inward. A shallow recess may let a locket tilt towards the lid.
Good Custom Necklace Boxes control the chain at several points while leaving the piece easy to remove. They also give the jewellery enough open space to feel valuable without placing it in an oversized box.
The wider Custom Jewellery and Accessories Packaging collection can share colour, logo placement and finish details. Necklace packaging still needs its own chain path, pendant support and usable depth.
Upper anchors set the display line
Two upper fixing points help the chain form a clean curve. They should sit far enough apart to stop the pendant swinging, but not so wide that the chain looks stretched.
Slots, tabs or covered hooks can work.
A lower pocket controls spare chain
A lower pocket, tuck-under tab or opening behind the tray can hold the clasp, extender and chain tail. This keeps loose metal away from the pendant and helps staff place the necklace the same way each time.
Size the Box From the Display Position
Custom Necklace Boxes should be sized from the necklace as it will appear when opened, not from the full chain laid in a straight line. The visible curve, pendant width and hidden tail all affect the required footprint.
Arrange the piece in its approved position first. Then measure the complete display width, height and depth. Include the pendant bail, stones, clasp and raised detail.
Measure width as well as chain length
A short necklace with a wide pendant may need more box width than a long chain with a small charm. Statement pieces and layered designs can spread even further across the insert.
The box should leave breathing room around the necklace without making it look isolated.
Allow for extenders and different lengths
An extender can sit behind the insert or inside a lower pocket. It should not hang loose below the pendant.
When several chain lengths share the same Custom Necklace Boxes, the insert can use more than one upper fixing point. Staff can then create the right display curve without changing the outer box.
Check the depth of lockets and stones
Lockets, cabochons and raised settings need enough recess depth to lie flat. The highest point should not touch the lid or lining.
A side photo of the pendant helps confirm the space required, especially when the insert is angled or padded.
Match the Interior to the Necklace Style
The best interior depends on how the necklace should sit, how often staff handle it and whether the customer needs to remove the whole tray.
Custom Necklace Boxes may use a flat tray, removable card, raised form or fitted insert. The interior should control the necklace without relying on loose tissue.
Flat trays suit pendants and fine chains
A flat tray gives a clear top view. It can include upper slots, a pendant recess and a hidden lower pocket.
Removable cards suit lighter pieces
A printed card can hold a fine necklace and carry a short product detail. It may then sit inside a paperboard or rigid outer box.
The card should fit closely enough to avoid sliding. Chain tails behind it still need clear depth.
Raised forms support broad necklaces
A curved form can suit collars and broader statement pieces. It shows the jewellery closer to the shape it takes when worn.
The form must remain below the usable lid height and stay firm enough to prevent the necklace settling lower in transit.
Custom Inserts and Dividers can combine anchors, recesses and hidden chain areas within one planned interior.
Keep the Pendant Facing Forward
The pendant is often the first detail the customer notices. Custom Necklace Boxes should stop it turning, sliding off centre or leaning into the insert.
A recess can control the lower edge. A discreet tab near the bail can control the top. The hold should remain gentle enough for staff to place the piece without tools.
Match the recess to the pendant profile
A flat charm may need only a shallow recess. A heavy locket or stone pendant may need a deeper cavity with support around safe edges.
The insert should not press on claws, enamel, pearls or polished faces.
Separate layers and multiple pendants
Layered necklaces need clear space between each chain. Separate upper anchors and controlled rear paths can keep the layers from crossing behind the tray.
Multiple pendants may also need individual shallow recesses so they remain visible and do not strike each other.
Leave room to lift the piece
Customers should be able to pick up the necklace without pulling at a stone setting. Small finger spaces beside the pendant can make removal easier.
Choose an Opening That Preserves the Layout
The opening affects how much the necklace moves before the customer sees it. It also changes the handover, lid artwork and space available beneath the tray.
Lid-and-base boxes give a full view
A separate lid reveals the complete necklace at once. It suits flat displays, pendants and wide layouts.
The lid should lift without pulling the base upward. A shoulder can improve alignment and add a second colour around the insert.
Hinged boxes keep everything together
A hinged box is easy to hand over as one piece. The inside lid can carry a short message or collection name.
The hinge angle should keep the lid away from the upper chain and remain open without falling back over the jewellery.
Drawers suit longer or layered pieces
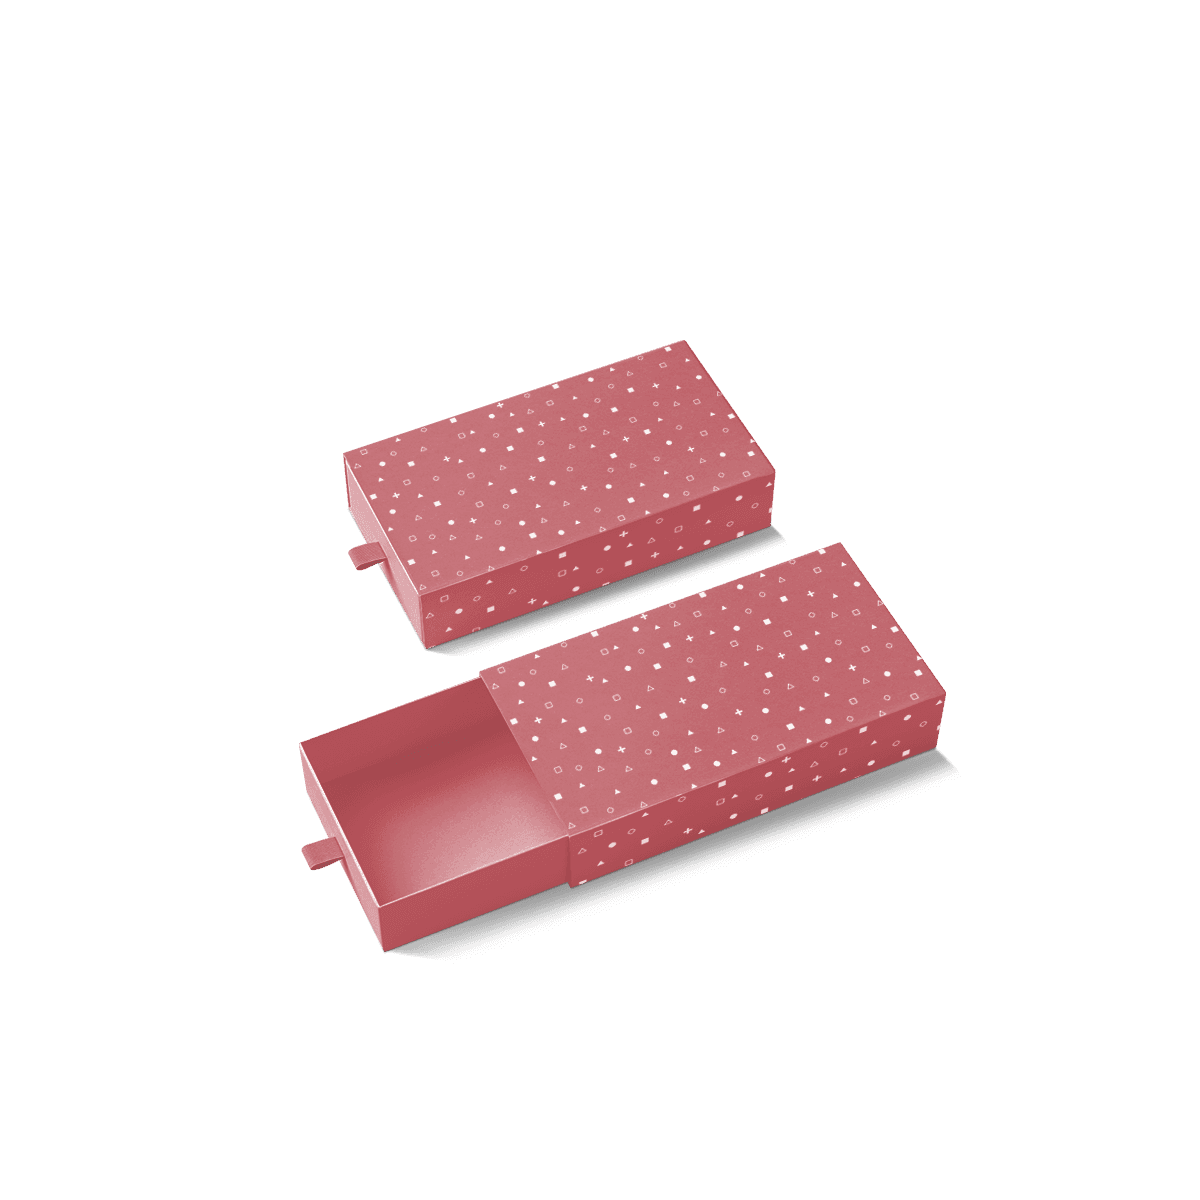
A drawer can create a slower reveal and leave room for documents below the main tray. It should move smoothly without shaking the necklace out of position.
Many suitable structures sit within Custom Rigid Boxes, while the insert determines whether Custom Necklace Boxes remain secure in use.
Use Print and Finish to Frame the Necklace
Necklace boxes often provide more lid area than ring or earring boxes. That space should still be used with restraint.
Custom Necklace Boxes work best when the outside establishes the brand and the inside directs attention back to the jewellery.
Scale the logo to the actual lid
Print the mark at final size before approval. Thin letters and fine foil can lose clarity on textured paper.
A centred logo can suit a formal look. An offset mark may fit a more modern collection. Keep clear space around either choice.
Keep inside-lid copy brief
A short maker statement, collection name or gift message can sit inside the lid.
This stops text competing with the necklace during the reveal.
Choose contrast for the chain and pendant
Pale chains can disappear against cream. Dark metal may lose detail against black. Coloured stones also need enough contrast to remain clear.
The wrap, print, foil, embossing and insert surface can be planned together through Customisation rather than chosen as separate additions.
Keep the Necklace Arranged Through Delivery
Custom Necklace Boxes must work through storage, retail handling, gift handover and online delivery. A layout that looks neat during approval can still shift after repeated movement.
Give staff a repeatable loading order
Upper anchors, a pendant recess and a lower pocket make the placement sequence clear. A reference image can show where the clasp and extender should sit.
This reduces uneven displays and saves staff from untangling chains at the counter.
Protect the presentation box with an outer carton
The presentation box should sit inside a close corrugated outer carton or suitable mailer. The outer layer takes courier impact. The inner box controls the reveal.
Void fill should stop movement without pressing on the lid. A shake check can reveal a loose tray, crossed chain or turning pendant.
Keep cards away from the chain
Care cards, certificates and gift notes should use an inside-lid pocket, lower compartment or space beneath a removable tray.
Loose paper can cover the necklace or pull a fine chain out of position.
Cover Several Necklace Lengths With Fewer Boxes
A jewellery collection may include chokers, pendants, long chains and layered pieces. It rarely needs a separate outer box for every design.
The aim is to group necklaces that share a safe display footprint, then change the insert only where needed.
Add discreet anchor positions
Several upper slots can support different chain lengths within one tray. Unused slots should remain subtle and should not weaken the insert.
A hidden rear path can also take up extra chain while the visible curve stays consistent.
Keep statement necklaces as a clear exception
Wide collars, heavy pendants and multi-layer pieces may need another box size. Giving them more room is better than forcing them into the core footprint.
Link single necklaces and sets visually
Custom Necklace Boxes can share an outer colour and logo position with Custom Jewellery Set Boxes. The set version can use a wider tray or more cavities while the brand still feels consistent.
Quote by Necklace Type and Insert Version
MOQ starts from 50. Custom Packly also supports larger production runs, later orders and high-volume needs.
For Custom Necklace Boxes, divide the quantity by outer size, insert type and artwork version. One printed outer box may support several necklace designs when the internal fit changes.
A practical order may include:
- Pendant inserts with a standard chain path
- Short-necklace inserts with higher anchors
- Deeper inserts for lockets
- Separate paths for layered chains
Keep the approved dimensions, anchor positions, pendant recess, lower pocket and print references on file. These details help later boxes match earlier stock.
A 3D mockup is the usual first review. A physical sample may be discussed when a fine chain, heavy pendant or layered layout carries more fit risk.
For a useful quote, send:
- Necklace photos from the front and side
- Display width and height
- Pendant width, height and depth
- Chain and extender length
- Necklace weight
- Number of chains or pendants
- Preferred opening
- Insert reference
- Quantity by necklace and insert version
- Print colours and finish ideas
- Retail, gifting or online delivery use
- Artwork status and required date
Get a Quote with the measurements available. The chain path, pendant position and box depth can then be refined before production.
FAQs
Related Industries
Related Packaging Styles
How it works
Simple steps from idea to delivery
Tell Us Your Specs
Tell Us Your Specs
Provide size, quantity, printing, and finishes.
Get a Fast Quote

Get a Fast Quote
Instant transparent pricing, no hidden fees.
Design and Approval

Design and Approval
Artwork checks, revisions, and final sign-off.
Produce

Produce
Expert manufacturing to meet deadlines.
Ship to Your Door

Ship to Your Door
Hassle-free, flexible delivery options.
Start Your Custom Packaging Quote
Share your product details, dimensions, quantity and artwork needs. We’ll help choose the right packaging style and send a clear quote.