Custom Nail Polish Boxes
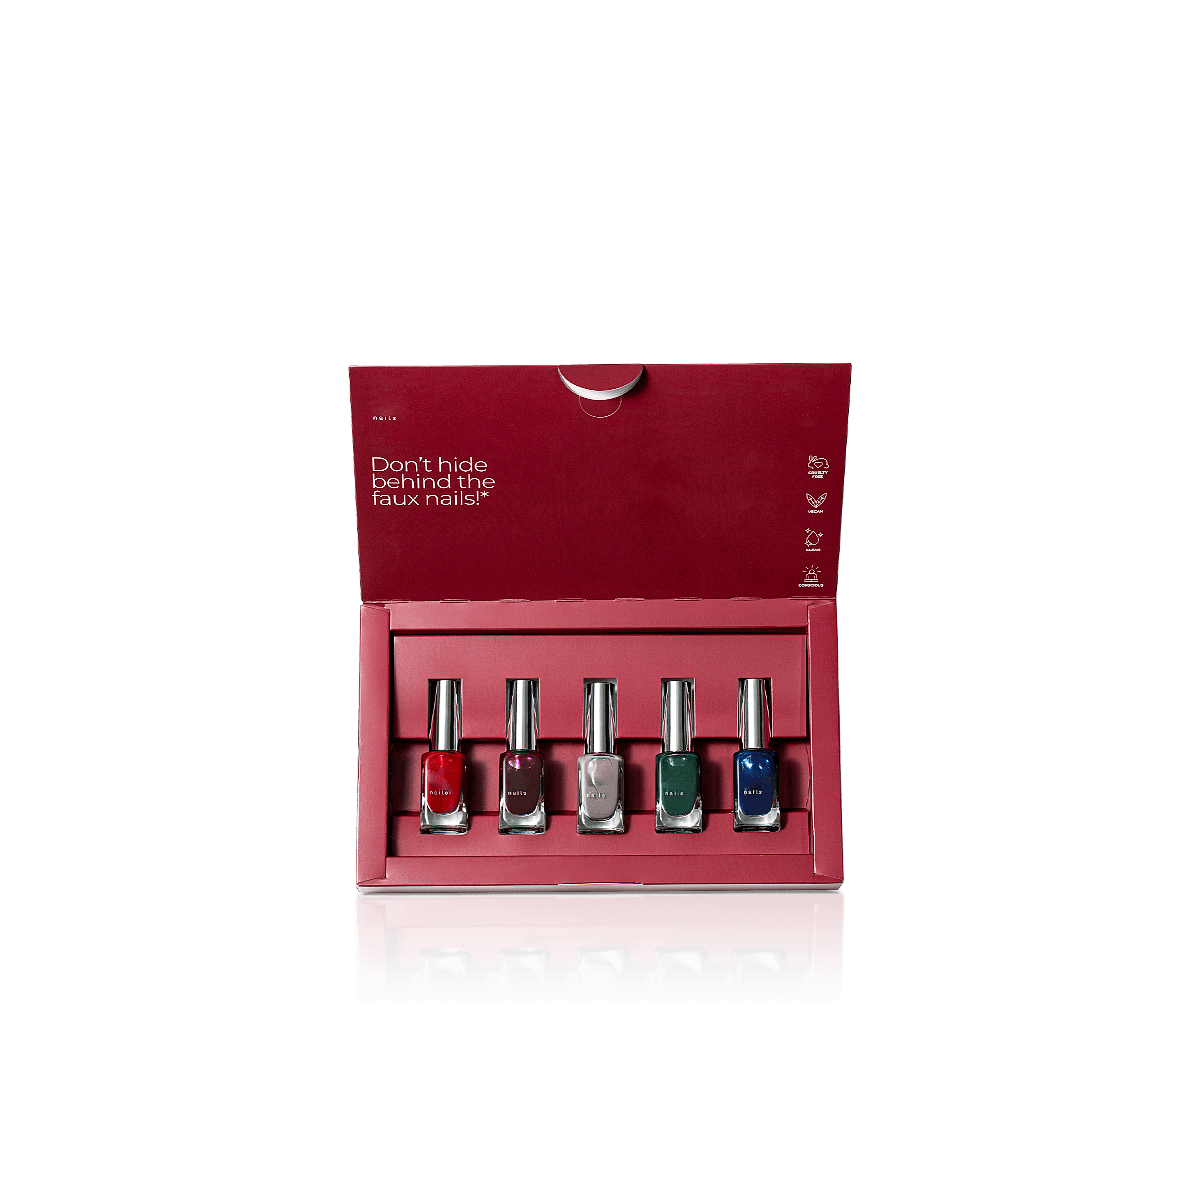
Keep glass bottles upright, shade labels visible and caps clear of pressure with cartons planned for single colours, coordinated sets and careful delivery.
Free Design Support
Clear Pricing
Flexible Quantities
Unlimited Customization
Premium Materials
Offset Precision
Free Shipping
Quick Turnaround
Protect the Bottle Before Styling the Carton
Custom Nail Polish Boxes should keep a glass bottle upright, reduce contact between the cap and carton walls and make the shade easy to identify before opening. Nail polish packaging has to manage a small but dense product, so a box that looks proportionate can still feel loose once the bottle starts moving.
Bottle shapes vary more than their listed volume suggests. Two 15 ml polishes may use different cap heights, base widths, shoulders and corner profiles. The carton should follow the finished bottle rather than rely on a general capacity.
This product-specific approach sits within Custom Beauty Packaging, where protection, colour presentation and consistent artwork need to work together.
Measure the Cap, Body and Base
Custom Nail Polish Boxes need dimensions from the complete closed bottle, including the cap, neck, shoulder and widest point of the glass.
Check Cap Overhang
Some caps sit wider than the bottle body. Others taper outward or use decorative shapes that increase the diagonal measurement. If the carton follows only the glass base, the cap may scrape the side panels or catch during loading.
Measure the cap separately and note whether it is round, square, faceted or irregular. Include raised logos, textured grips and decorative collars.
Use the Filled Product Weight
An empty bottle does not represent the finished item. The filled weight affects how firmly the base panel needs to sit and how much movement the carton can tolerate.
Share one finished bottle whenever possible. It shows the real balance, surface finish and cap position more clearly than measurements alone.
Allow Clean Removal
A close fit should not force the customer to shake the box or pull hard on the cap. Leave enough finger space for easy removal without creating a cavity that lets the bottle rattle.
The opening direction should also suit the bottle. A wide cap needs enough room to pass the tuck flap without scuffing.
Keep the Bottle Upright
A stable base reduces tipping, bottle rotation and pressure against the top flap.
Support Rounded and Narrow Bases
Square bottles usually sit more predictably than round or tapered bottles. A paperboard platform can help centre a narrow base and stop it sliding into a corner.
The support should hold the lower body rather than press against the neck. Pressure near the cap can affect presentation and make the bottle harder to remove.
Stop Rotation Behind a Window
Round bottles can turn inside a rectangular carton, especially when the box includes a display window. The label or polish colour may move away from the opening.
A folded cradle, shaped opening or closer side clearance can keep the intended face visible. Test the real bottle inside the assembled carton before finalising the window position.
Check Shelf Stability
Tall caps can make a bottle top-heavy. The outer carton needs a level base and square folds so it stands neatly with neighbouring shades.
Where stores display cartons in trays, confirm the finished width and depth against the intended retail layout. Small differences can make a colour collection look uneven.
Reduce Glass Contact and Leakage Risk
Custom Nail Polish Boxes can limit movement and protect the bottle surface, but the primary container and cap remain responsible for holding the liquid.
Separate Bottles in Sets
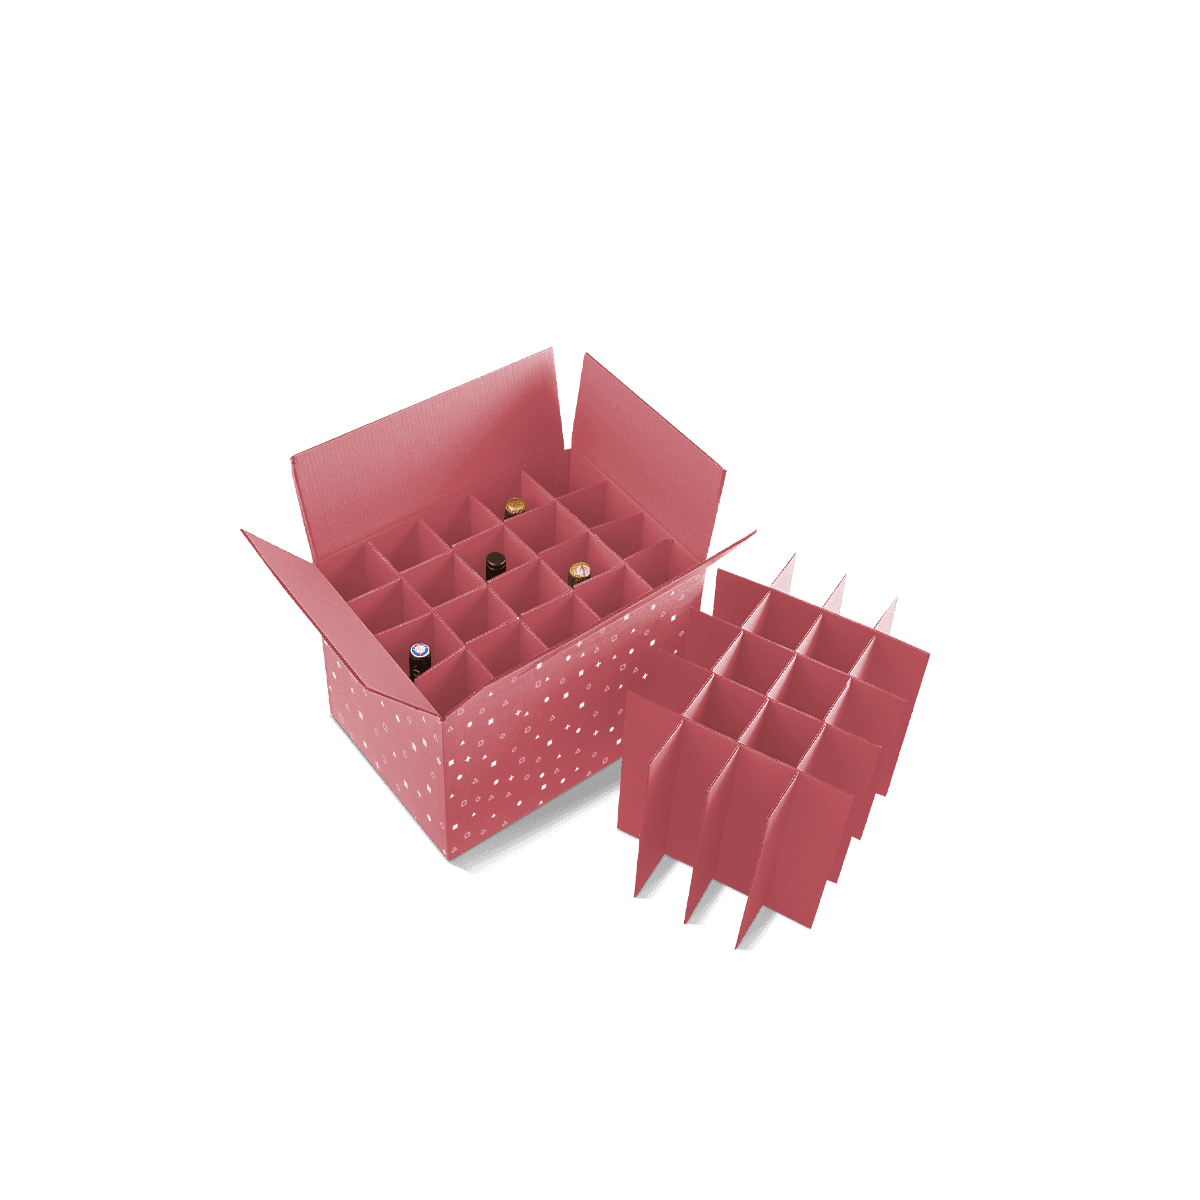
Gift boxes containing two, four or six shades need individual bottle positions. Custom Inserts and Dividers can prevent glass bottles from striking one another and keep each label facing the correct direction.
Choose openings that grip the bottle body without covering too much of the colour. Finger notches should allow easy removal without pulling on the cap.
Keep Supports Away From the Neck
A loose cap or small leak can mark uncoated paperboard. Leave clearance around the neck and avoid internal parts that rub against the cap seam.
The retail carton does not replace filling, closure and transport checks. Confirm that the finished bottle remains sealed before testing the complete packaging.
Use a Separate Delivery Box
A printed nail polish carton is not a parcel-ready outer by itself. Online orders need a suitable shipping box that limits movement and keeps heavier products away from the glass bottle.
The same principle applies to Custom Serum Boxes, where small glass containers need both close retail fit and a protective parcel arrangement.
Choose the Structure Around the Quantity
One bottle, a colour duo and a premium gift set need different carton decisions.
Single-Bottle Folding Cartons
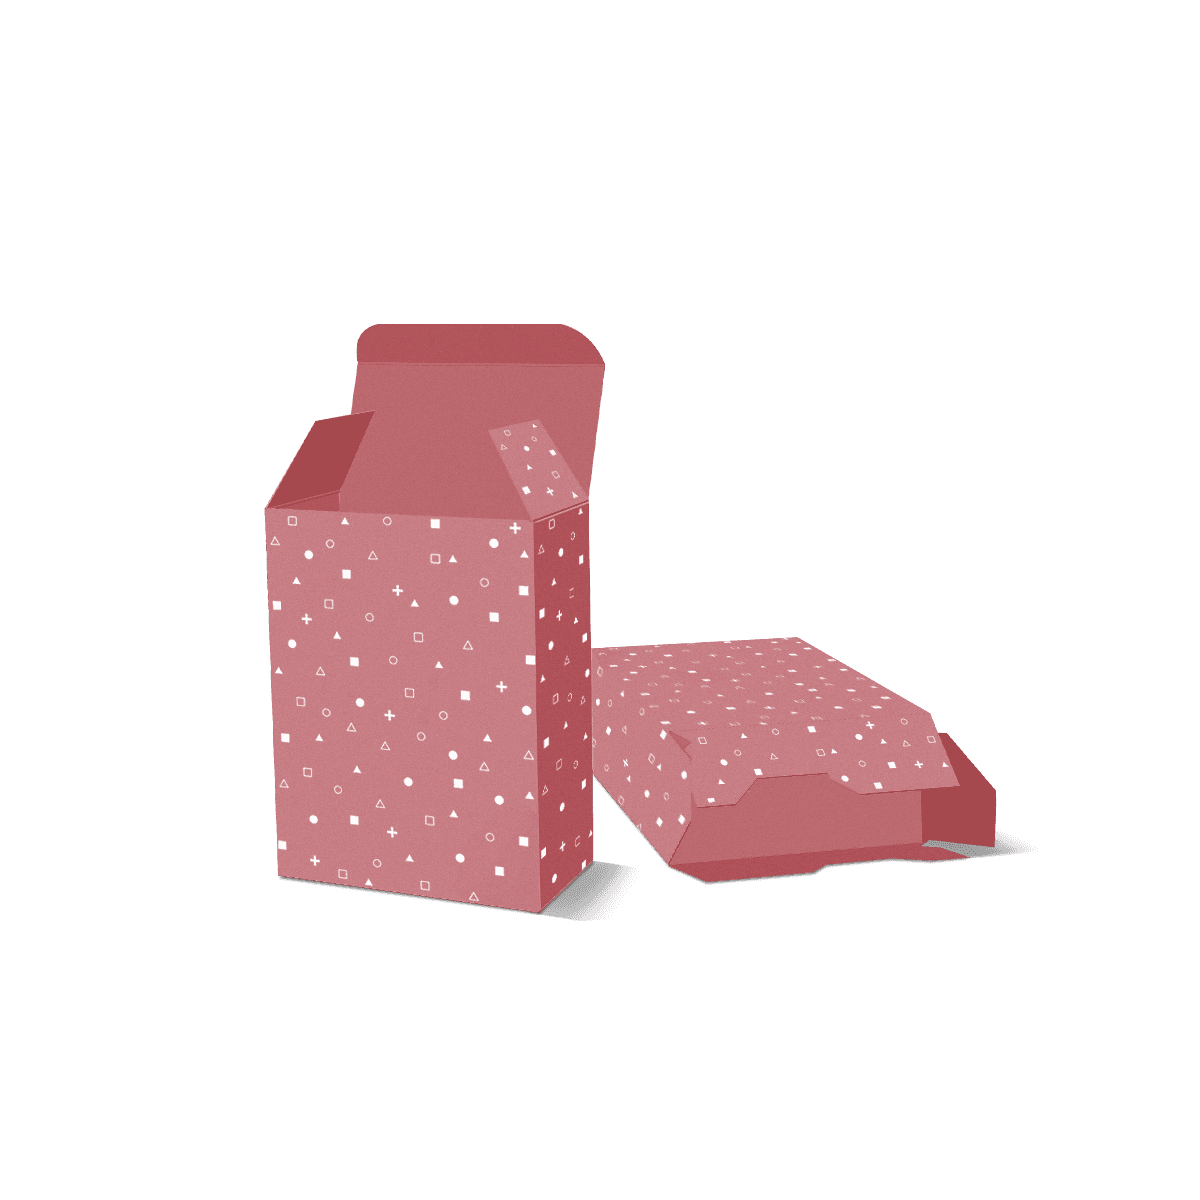
Custom Folding Cartons and Tuck Boxes usually suit individual nail polish bottles. They store flat before filling, provide useful printable panels and can follow square, round or shaped bottles closely.
Straight tuck and reverse tuck structures can both work. The better choice depends on filling direction, visible panels and where the shade name needs to appear.
A heavier bottle may benefit from a stronger base, but the structure should not become more complex than the product requires.
Duo and Trio Cartons
Two or three shades can sit side by side in a compact gift carton. Dividers stop contact and create even spacing, while an outer cover can hold the group together.
Plan how customers remove each bottle. Tight internal positions may look neat but become frustrating without enough finger access.
Presentation Boxes for Larger Sets
Seasonal collections, salon sets and premium gifts may use a rigid presentation box with a fitted tray.
Decide whether the set will lie flat or stand upright. The insert depth, lid clearance and bottle weight should support that orientation without making the box difficult to store or deliver.
Make the Shade Easy to Find
Customers often choose nail polish by colour first, so the packaging needs a clear identification system.
Use End Panels for Fast Scanning
A shade name, number and colour block can sit on the top or base panel. This helps when cartons stand side by side and only one end remains visible.
Written names remain important because printed colour may not match the polish exactly. Use the colour block as a navigation aid rather than a substitute for shade details.
Show the Bottle Through a Window
A window can reveal the polish colour and bottle shape. Position it around the most useful part of the bottle, not the cap or an empty gap.
Leave enough board around the opening for clean folding and handling. A large window can reduce strength and expose label misalignment if the bottle rotates.
Keep Formula Details Distinct
Gel-effect, quick-dry, breathable, base coat, top coat and treatment products may share similar bottles. Place the formula type near the shade name so customers and fulfilment teams can distinguish them quickly.
Do not rely only on cap colour. Caps can change while the printed carton remains the main identification point.
Print for Colour Collections
Custom Nail Polish Boxes often use several artworks across one bottle size. Strong file control matters as much as print quality.
Separate Brand and Polish Colours
Keep the core brand palette consistent across the collection. Treat each printed shade reference as an identifier rather than an exact match to the liquid.
Premium offset printing supports sharp type, solid colour and repeat consistency across several versions. CMYK suits full-colour artwork while Pantone matching can help control an important brand tone.
Use Finishes With a Purpose
Gloss can echo the shine of a polished nail, while matte lamination can create a softer contrast. Foil, embossing or spot UV can highlight a logo, collection name or limited-edition detail.
Small cartons have limited room, so decorative areas should not compete with the shade name, barcode or ingredients. Customisation can coordinate board, printing and finishes around the final panel sizes.
Test Dark and Metallic Artwork
Dark backgrounds can show edge wear, fingerprints and rubbing. Metallic or holographic details may also change appearance under retail lighting.
Review the carton under normal shelf light and inside the intended delivery box. A finish should remain attractive after handling, not only in a digital mockup.
Keep Every Shade File Under Control
One structure can support many colours when all finished bottles share the same dimensions.
Confirm Bottle Consistency First
Custom Nail Polish Boxes should not share a dieline simply because the stated volume matches. A new bottle supplier, cap or mould may change the external measurements.
Check one finished bottle from every shape before grouping artworks under one structure. Even a small cap change can affect loading and window alignment.
Create a Shade Register
Record the shade name, code, barcode, artwork filename, bottle dimensions and approval date for every colour. Add the formula type where the collection includes treatments, top coats or special finishes.
This record makes repeat production safer and helps prevent an old barcode or shade name returning after an artwork update.
Illustrative Case Study: Twelve Shades, Two Bottles
A fictional beauty brand launches eight core colours in square bottles and four seasonal colours in rounded bottles.
The square bottles use one carton structure with eight separate artworks. Each artwork keeps the same logo position, side-panel copy and finish while the end panel changes by shade.
The rounded bottles need a second structure with a folded support to control rotation behind the window. The seasonal cartons retain the same visual identity without forcing a different bottle into the first dieline.
The brand orders lower quantities for seasonal colours and larger repeats for its core reds and neutrals.
Order by Colour Demand
MOQ starts from 50 for first releases, collaborations and short seasonal runs. Custom Packly also supports thousands, tens of thousands and larger repeat orders as the collection grows.
Do not divide the total quantity evenly unless demand is genuinely similar. Core neutrals and popular reds may need deeper stock, while trend colours can use smaller quantities.
Keep the structure stable when the bottle remains unchanged. Reordering selected shades then becomes an artwork and quantity decision rather than a structural restart.
Approve the Bottle Experience
A 3D mockup is usually enough to review panel order, shade placement, opening direction and overall appearance.
A physical sample becomes more useful when the bottle has an unusual base, the carton includes a fitted insert, a window must frame the label or a premium finish needs a tactile check.
Test the finished bottle during loading, shelf display and removal. It should enter without scraping, remain upright and lift out without crushing the carton.
For a set, test every bottle position. Decorative caps and labels can vary slightly even when the glass bottles share the same stated size.
Quote the Finished Bottle
An accurate quote needs the real closed bottle rather than only a stated volume such as 10 ml or 15 ml.
Provide:
- Overall bottle height, width and depth
- Cap width, height and shape
- Filled product weight
- Base and shoulder profile
- Quantity required for each shade
- Formula and artwork variations
- Single-bottle or set presentation
- Window, divider or insert requirements
- Board, print and finish preferences
- Retail, gifting and online delivery use
- Artwork status and required date
- Expected repeat-order pattern
Custom Packly can review structure, shade versions and quantities together. Send these details through Get a Quote so pricing reflects the actual bottle and number of printed versions.
FAQs
Related Industries
Related Packaging Styles
How it works
Simple steps from idea to delivery
Tell Us Your Specs
Tell Us Your Specs
Provide size, quantity, printing, and finishes.
Get a Fast Quote
Get a Fast Quote
Instant transparent pricing, no hidden fees.
Design and Approval

Design and Approval
Artwork checks, revisions, and final sign-off.
Produce

Produce
Expert manufacturing to meet deadlines.
Ship to Your Door

Ship to Your Door
Hassle-free, flexible delivery options.
Start Your Custom Packaging Quote
Share your product details, dimensions, quantity and artwork needs. We’ll help choose the right packaging style and send a clear quote.