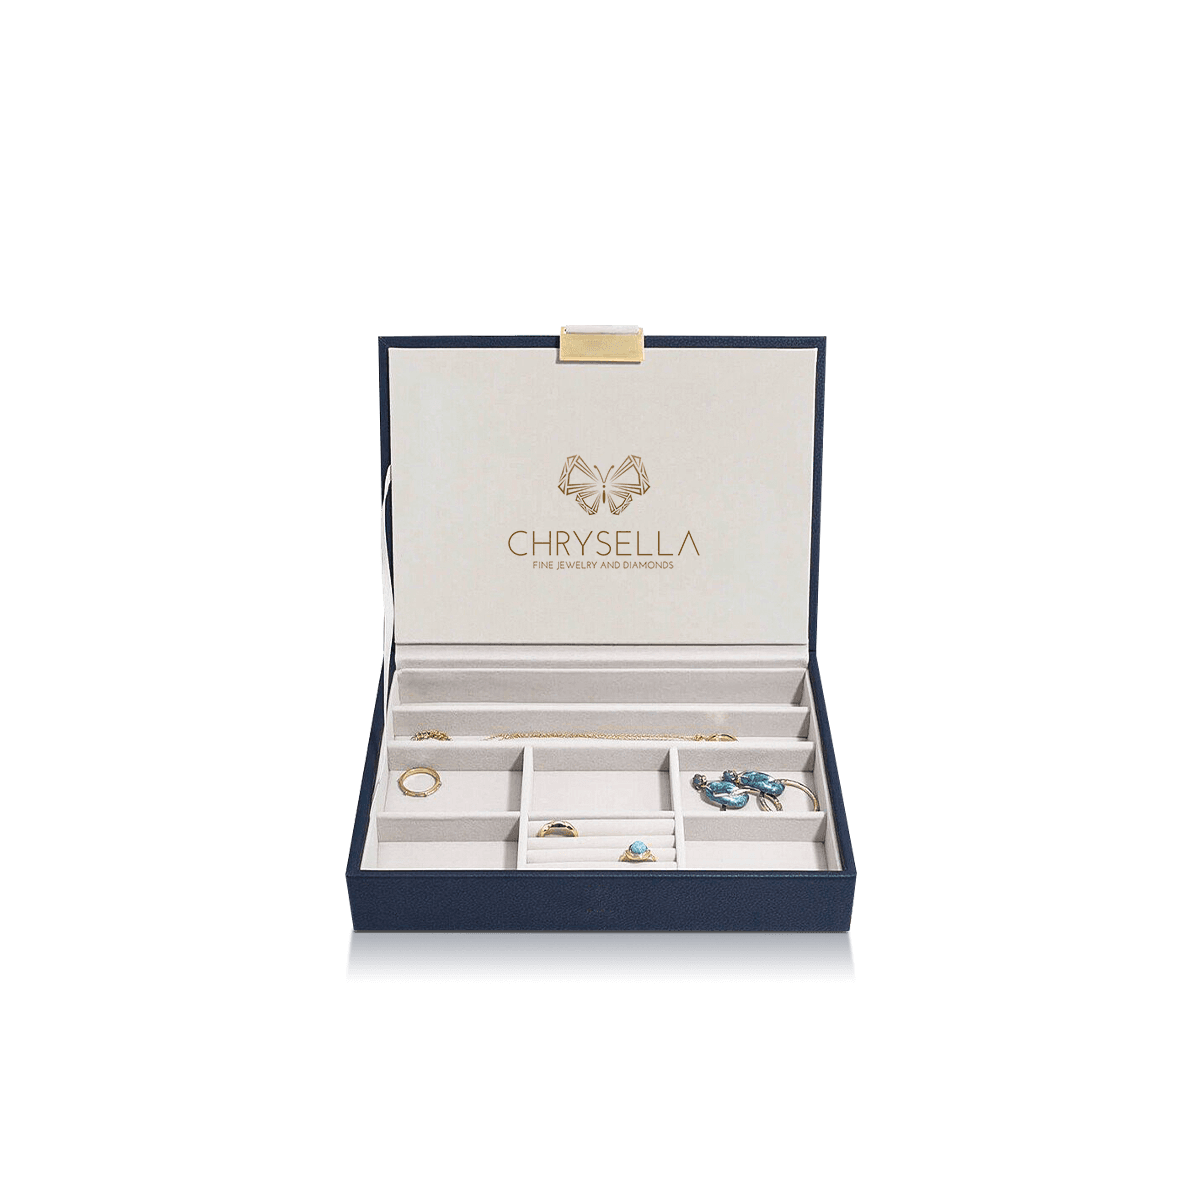
Custom Jewellery Insert Boxes
Turn rings, earrings, chains and coordinated sets into stable displays with jewellery boxes planned around cavity depth, lift points, soft contact and insert changes.
Free Design Support
Clear Pricing
Flexible Quantities
Unlimited Customization
Premium Materials
Offset Precision
Free Shipping
Quick Turnaround
Fitted Jewellery Box Inserts That Control Every Contact Point
Custom Jewellery Insert Boxes should stop movement without squeezing the jewellery. The insert must hold safe areas, leave delicate surfaces clear and keep the product at the correct display height.
A strong outer box cannot stop a ring leaning in a loose slot or a pendant turning in a wide recess. A close cavity can also press on stones, enamel or plated finishes.
Well-planned Custom Jewellery Insert Boxes control the exact points where each item rests. They also make the jewellery easy to load, check and remove. The display should still look neat after retail handling, gifting and online delivery.
The wider Custom Jewellery and Accessories Packaging collection can share colours and print details. Jewellery insert boxes need a more technical fit plan because the cavity, slot and release points directly affect the product.
Hold strong areas, not delicate details
A ring insert should grip the lower band rather than the setting. A necklace tray should control the chain without catching fine links. An earring card should support the post or hook while leaving the front design clear.
Each contact point should have a purpose.
Leave controlled room for removal
Customers and retail staff need a clean way to lift the jewellery. Finger notches, side recesses and ribbon tabs can improve access.
The release point should sit away from stones and decorative faces. It should also stop the complete insert lifting with the product.
Match the Insert to the Jewellery, Not Just the Box
Outer dimensions only show the available space. They do not define how jewellery will sit inside Custom Jewellery Insert Boxes.
Measure the product in its intended display position. Include clasps, chain tails, earring backs, ring height, bracelet curves and any parts placed below the visible surface.
Plan from the final display position
A necklace may need less visible height than its full chain length because spare chain sits behind the tray. A bracelet may need more width on a curved support. A high ring setting may need more lid space than a broad pendant.
Lay out the piece first. Then set the cavity, support points and outer box around that arrangement.
Include depth below the insert
Posts, backs, clasps and hidden chain need space beneath the display surface. If the lower clearance is too shallow, these parts can push the insert up or tilt the jewellery.
A removable tray also needs enough edge depth to stay level inside the base.
Treat unusual shapes as separate fit problems
Asymmetrical earrings, open cuffs, layered chains and high-set rings may not suit a standard cut. Their heaviest or widest part can pull the product away from its intended position.
Custom Jewellery Insert Boxes can share outer dimensions across several products, but the insert should change when the hold or pressure points change.
Choose Insert Material by Pressure, Weight and Finish
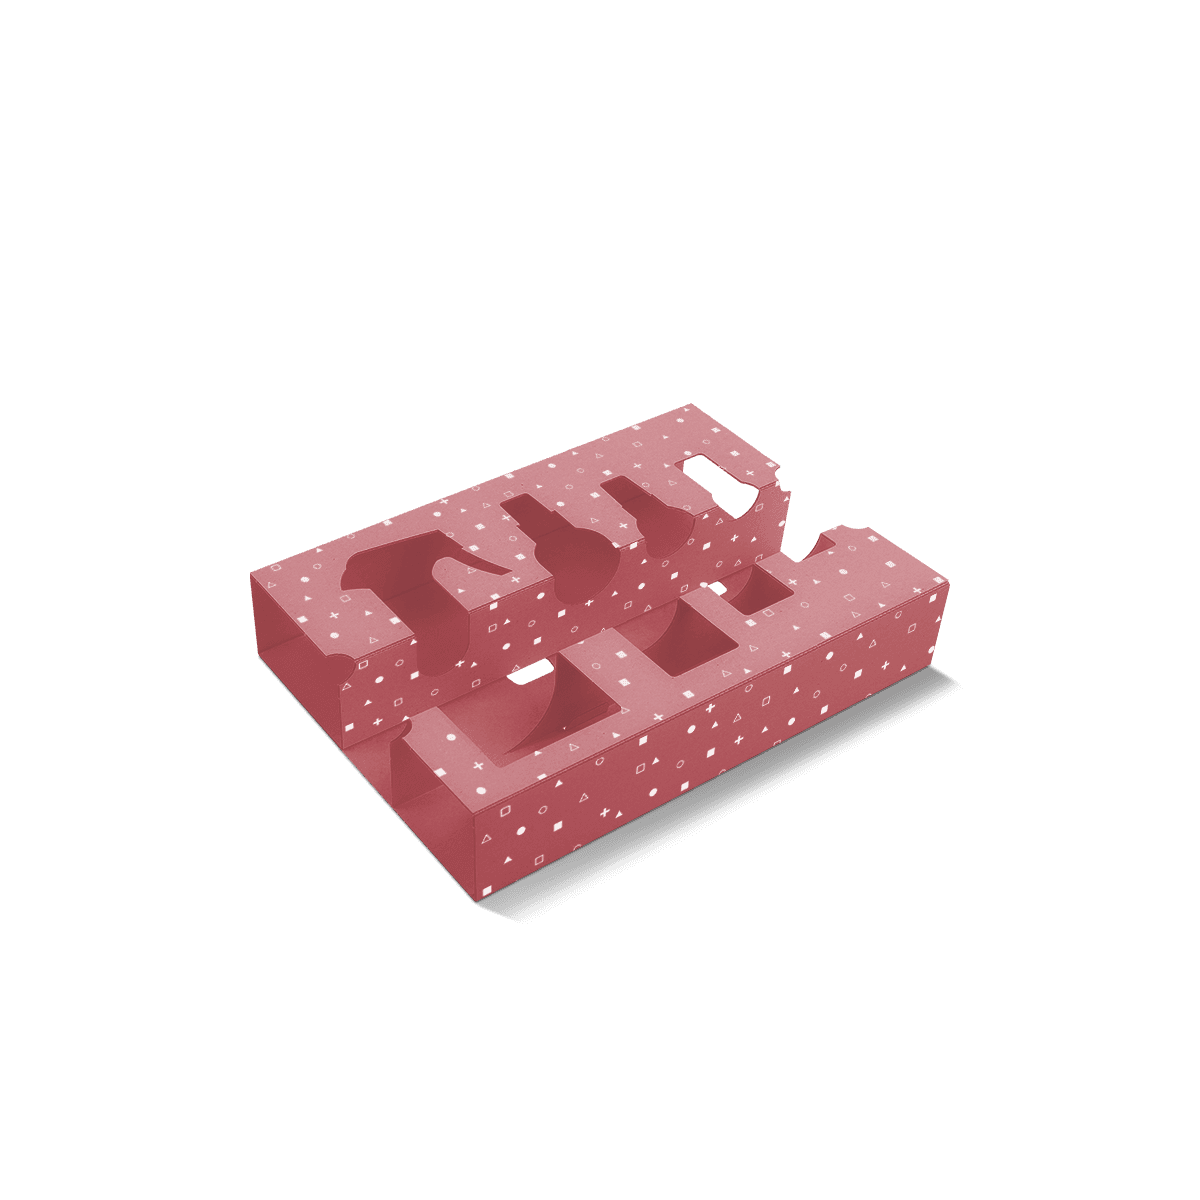
Insert material affects grip, cavity edges and how the interior looks under retail lighting. Custom Jewellery Insert Boxes can use folded paperboard, die-cut card, foam or covered structures.
The best choice follows product weight, surface sensitivity and the desired presentation.
Paperboard creates clean folds and slots
Paperboard inserts can form ring slots, earring cards, chain tabs, bridges and shallow cavities. They suit brands that want a paper-led interior and crisp printed detail.
Folded structures can create height without filling the box with extra material. Score lines and locking tabs should stay away from the jewellery face.
Foam gives close cuts and firmer hold
Foam can support detailed shapes and heavier pieces. Density matters. Soft foam may compress too far, while dense foam can create too much pressure around delicate parts.
Cut edges can be covered for a softer visual and touch. The covering should remain smooth around small holes and narrow slots.
Covered inserts change the customer view
Paper or fabric coverings can add colour and texture. They must follow the cavity without loose seams or wrinkles.
The surface should not shed fibres and needs enough contrast to show the jewellery clearly.
The structural choices within Custom Inserts and Dividers can be matched to the jewellery rather than selected only for appearance.
Use the Right Slot, Channel or Cavity for Each Piece
Custom Jewellery Insert Boxes need different controls for rings, earrings, necklaces, bracelets and matched sets. A flat pad cannot manage all of these shapes equally well.
Ring slots need controlled tension
The slot should hold the lower band and keep the setting upright. Thin bands may need a narrow cut or softer compression. Wide bands and signet rings need more room.
Lid clearance must be checked with the ring in its final angle. A safe slot can still fail if the stone touches the lid.
Earring holes need pair alignment
Studs, hoops and drops require different hole positions and depths. Earring backs need clear room below the card.
Long drops may need a lower restraint so the pair does not cross. Heavy hoops may need more support than two small holes.
Necklace channels need a hidden chain path
Upper anchors control the visible chain curve. A pendant recess keeps the focal piece centred. A lower pocket or rear channel stores the clasp, extender and spare chain.
Smooth edges matter because fine links can catch on rough cuts.
Bracelet supports should follow the natural curve
Fine chain bracelets may sit on a flat tray with end tabs. Tennis bracelets can use a shallow channel. Bangles and cuffs may need a curved bridge, pillow or shaped recess.
For multi-piece layouts, Custom Jewellery Set Boxes can combine several holds within one clear reveal.
Set Tolerance Without Creating Pressure Marks
Tolerance is the small amount of space between the jewellery and the insert. In Custom Jewellery Insert Boxes, this gap decides whether the item stays secure, rattles or receives too much pressure.
Tight does not always mean safe
A cavity that grips every edge may mark plated metal or press on a stone setting. A narrow ring slot can also distort a thin band.
The insert should hold safe areas while leaving sensitive parts free.
Loose space needs planned control
An oversized cavity can let jewellery rotate or strike the box wall. Adding tissue after production may hide the issue, but it does not create a repeatable fit.
Tabs, supports and channels should control movement at the source.
Allow for material compression
Foam, covered card and folded paperboard behave differently under pressure. The final usable cavity may be smaller than the cut drawing suggests.
A physical sample may help with heavy, unusual or pressure-sensitive pieces. A 3D mockup remains the usual first review.
Use Interchangeable Inserts Across a Mixed Collection
One outer box can sometimes support several jewellery products through different insert versions. This can make Custom Jewellery Insert Boxes easier to organise without forcing unrelated items into one cavity.
Keep the outer footprint stable
A compact outer box may hold rings, studs or small pendants when each version has its own insert. A long box may support necklaces and flexible bracelets.
Depth, lid clearance and removal still need to work for every version.
Identify each insert version clearly
Retail teams need a simple way to tell inserts apart. A small code, underside print or distinct fold can reduce loading errors.
The customer-facing surface can stay consistent while the hidden production reference changes.
Share an insert only when the hold truly matches
Similar products may share an insert after a fit check. Different band widths, pendant depths or hoop diameters may need another cut.
The aim is controlled reuse, not a universal cavity.
Keep the Insert Locked During Handling and Delivery
An insert can fit the jewellery well and still fail if it lifts, slides or bows inside the outer box.
Custom Jewellery Insert Boxes need a secure relationship between the insert edge, box wall and base.
Lock the tray into the box
Side tabs, folded walls, shoulders or a close perimeter fit can stop the tray moving. Adhesive may help in some structures, but it should not create visible marks without a clear reason.
A removable insert needs enough grip to stay level while still lifting cleanly.
Check movement after loading
A gentle shake check can reveal a loose tray, swinging chain or ring that has leaned forward. Open the box after the test and inspect every contact point.
For online orders, the presentation box also needs a suitable corrugated outer carton. The courier box protects the outside while the insert protects the jewellery.
Keep papers and accessories separate
Care cards, certificates, spare links and tools should not sit loose over the jewellery. A lower pocket, inside-lid sleeve or second level can keep them away from the main cavity.
Use Print and Colour to Support the Interior Layout
Custom Jewellery Insert Boxes often rely on the interior as the main visual frame. Colour, print and finish should direct attention towards the jewellery rather than compete with the cavity shape.
Use contrast around the product
Pale metals may disappear against cream or light grey. Dark pieces may lose definition on black. Coloured stones also need enough separation from the background.
Review the complete combination under normal retail lighting and product photography.
Keep print away from cuts and folds
Logos, patterns and product lines should not cross slots, cavity cuts or areas that bend during assembly.
The artwork should follow the finished insert, not only the flat sheet. Custom Die Cut Inserts can carry print, but every important mark needs a clear safe area.
Coordinate the insert with the outer box
The lid may carry the main brand mark while the insert uses a quieter tone. Inside-lid print can add a short message without crowding the product area.
Materials, print and finishing details can be aligned through Customisation before the final insert drawing is approved.
Quote the Outer Box and Insert as One System
Pricing Custom Jewellery Insert Boxes requires details for both the outer structure and fitted interior. Quoting only the box dimensions leaves out the part that controls product fit.
MOQ starts from 50. Custom Packly also supports larger runs, later orders and high-volume jewellery needs.
For an accurate quote, send:
- Jewellery type and clear product photos
- Length, width, depth and weight
- Display angle and preferred position
- Ring setting height, earring back depth or chain length where relevant
- Number of pieces in each box
- Preferred outer box style
- Paperboard, foam or covered insert preference
- Quantity by box and insert version
- Print colours and finish ideas
- Retail, gifting or online delivery use
- Artwork status and required date
Custom Packly can review which items may share an outer box, where separate inserts are needed and which contact points carry the most risk.
Get a Quote with the product details available. The cavity depth, support points, material and removal method can then be refined before production.
FAQs
Related Industries
Related Packaging Styles

How it works
Simple steps from idea to delivery
Tell Us Your Specs
Tell Us Your Specs
Provide size, quantity, printing, and finishes.
Get a Fast Quote

Get a Fast Quote
Instant transparent pricing, no hidden fees.
Design and Approval

Design and Approval
Artwork checks, revisions, and final sign-off.
Produce

Produce
Expert manufacturing to meet deadlines.
Ship to Your Door

Ship to Your Door
Hassle-free, flexible delivery options.
Start Your Custom Packaging Quote
Share your product details, dimensions, quantity and artwork needs. We’ll help choose the right packaging style and send a clear quote.